views
Improving Your Form
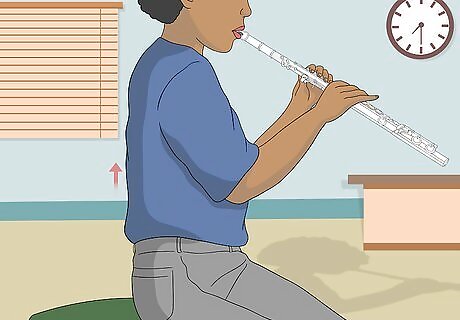
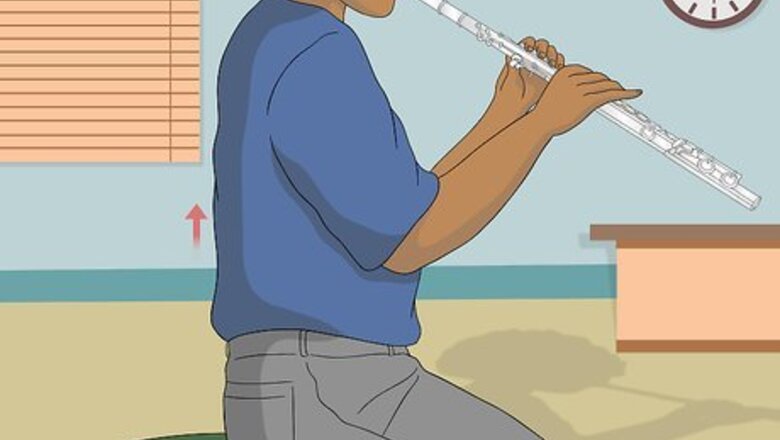
Sit up straight. In fact, it's easiest to play with a good tone while standing. Make sure your back is straight up and down when you are sitting, and don't slouch! Turn your body at a slight angle so that you don't have to reposition your neck to see the music stand clearly.
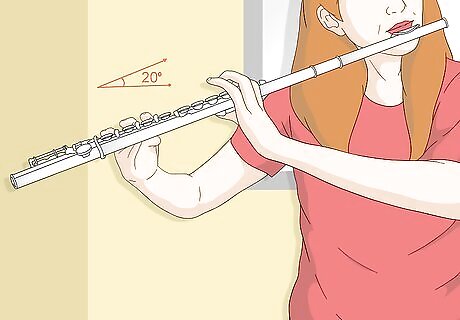
Hold your flute up. You've probably been told this at least a thousand times, but it can affect your tone if you hold the flute too low. You should hold it about 20° below parallel. When you hold it any lower you collapse your stomach area and cannot take a proper breath or support the tone. If you hold it any higher you will create tension in your right arm.
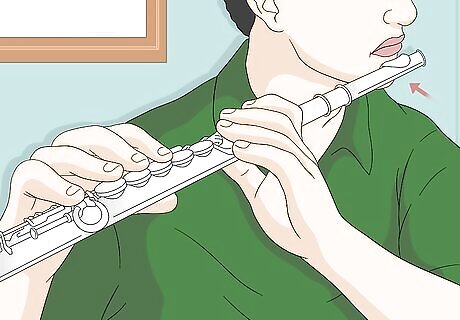
Balance the flute. This is related, but not the same thing as correct posture. There are three points of balance when holding up a flute: the chin, left thumb, and the right thumb. The lip plate should rest in the hollow between your lip and chin, and you should feel a gentle pressure on the lower gums. Your flute should rest just above the lowest knuckle of your left pointer finger, above where the finger meets the hand. The flute should rest on the tip of the right thumb, underneath or slightly behind the flute, between the F and E keys. Your right pinkie finger should then land naturally on the E flat key. Once in this position, it should feel very natural, and the flute should "float", allowing you to produce a resonant sound.

Breathe correctly. Take a deep breath starting with your belly, not your chest, before playing. You should see your belly physically expand. Your back should expand too toward the end of a deep breath. If your chest is the first thing to expand, or your shoulders rise upward when you breath, you are not getting as much air as you could. Your lips should also make a triangular gap when blowing. One way to practice this is to bend forward at the waist, making a 90 degree angle between your legs and torso. Then take a deep breath starting from your belly, feeling your entire belly and back expand before your chest does.
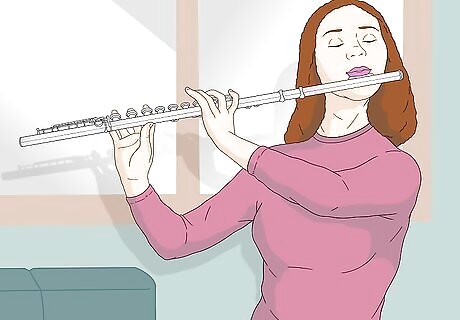
Support the air stream. Think about activating your core and belly muscles to physically "support" the air and produce a strong, steady stream. This will also help you play in tune, which always makes for a better tone and is extremely important when playing with others. Listen to your tone while blowing into the flute, too. Think about sounding resonant and full. Imagine that you are vibrating the whole length of your flute with your breath. Shape your lips. Making the hole in your lips smaller can produce a better tone. The air stream is more direct and you do not use as much air. On the other hand, make sure not to make the hole too small, or you can cut off the airflow and get an airy or forced sound.
Improving the Quality of Your Practice Sessions

Experiment. You won't find your ideal tone until you know what all the options are! Furthermore, the meaning of a "good" flute tone depends on the music you're playing, and skilled musicians know how to vary their tone color (rich, bright, mellow, sweet, intense, haunting, etc.) to suit the mood they want to create. To practice this, pick a note you can play comfortably, hold it, and explore the following movements. As you play, notice how the sound changes, whether it seems more or less pleasing, and what types of musical moods it might evoke. Over time you can learn to pick the tone color you want and immediately find the position of your lips, jaw and body to produce it. Move the end of your flute higher and lower. This changes the angle of the air across the embouchure hole. Many flutists let their right arm drop too far for optimal tone and this exercise will show you if you're one of them. Move the end of your flute forward and backward. This also changes the angle of the air stream. Listen for the place where it sounds the most focused. Tilt your head left, right, forward and back. Feel what's most comfortable and sounds clearest. Roll the mouthpiece in and out. This changes how much air enters the flute and also affects pitch (whether you're flat, sharp, or just right). Direct your airstream higher or lower by moving your jaw forward and back. This affect can be similar to rolling the mouthpiece in or out. Make the muscles in your lips, cheeks and jaw more relaxed and less relaxed.
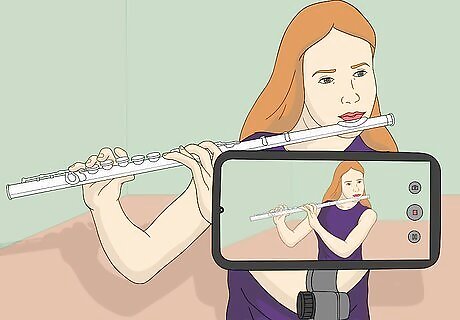
Record yourself. You may be surprised. The acoustics of our own bodies and the space around them mean that your tone will sound different when heard by you as you play, someone standing a few feet away, and someone sitting in the back of a large concert hall. There are professional flutists with very bold tones that can border on abrasive if you're standing next to them, but they carry beautifully during a solo in a large hall. Conversely, a delicate, sweet tone that sounds lovely to the player's own ears may seem weak and uninteresting from across the room. It can be very helpful to record yourself from various distances to understand how you'll sound to others. Of course, unless you have high quality recording equipment this doesn't work perfectly, but even a video on your smartphone is better than nothing.
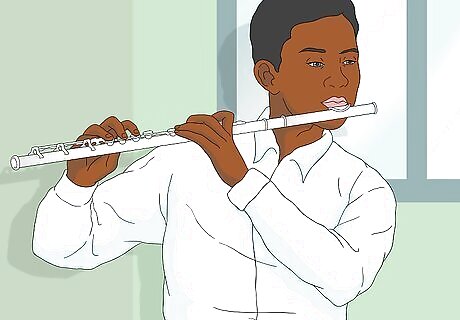
Practice long tones. As many music teachers like to say, "Practice doesn't make perfect. Perfect practice makes perfect." Unless you spend a lot of time trying to play with good tone, you won't reliably develop it. One way to do this is to spend part of every practice session on long tones. This is often done as part of your warm-up. Moyse's "de la Sonorité" book is a classic resource for this, but you can also find many online resources describing long tone practice techniques. Use vibrato on longer notes. Vibrato is a technique in which the player pitch bends very fast. Act like you are whispering "ha, ha, ha" and try to play a note. It might sound unnatural at first, so practice until it is natural and even. Vibrato is a good technique that will create interest on longer notes and mask tuning inconsistencies as well. The speed of the vibrato depends upon the effect a flutist is trying to achieve; a faster vibrato often portrays a more intense feeling, while a slower vibrato is more soothing.

Know that better tones on certain notes will come with time and familiarity. As you become more familiar with lower and higher notes on the flute, your tone will improve on them as well. Don't just assume that time will solve everything however. It takes practice too!
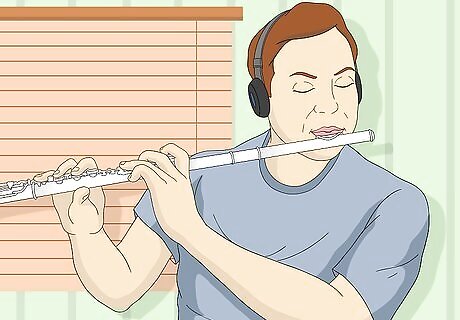
Listen to recordings of professional flutists. They all play with reasonably good tone or they would not have made it as professionals, but you may also notice you like some better than others. Think about what characterizes the tones you like the best, and experiment with trying to imitate them as you play.
Improving the Quality of Your Flute
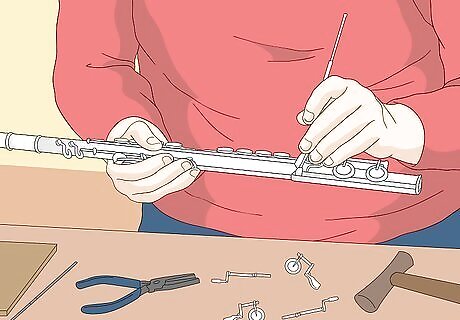
Have your flute serviced regularly. A flute that works better has a better tone. Period. If your tuning cork is messed up, a key is leaking, the rods are misaligned, or your flute is ailing in any other way, that will negatively affect your tone. To some extent, you can fix things yourself--sticky keys or loose screws--but for most things have your flute checked at a music store.

Get a better flute. The quality of the metal (whether nickel, silver,gold, or even platinum) and the craftsmanship that went into making a flute drastically affect its tone. They say a master flutist can make even the lowest quality flute sound great, but for the rest of us, instrument quality makes a difference. If you have a beginner's flute and want to play seriously, consider buying a new one. Professional and intermediate flutes are crafted more precisely, and it is easier to get a good tone on many notes.
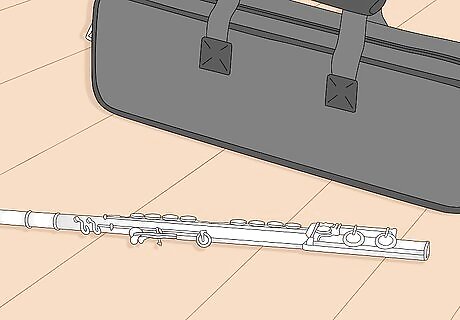
Consider metal quality when picking a new flute. Most beginning flutes are nickel or silver plated nickel. Pure silver (sterling silver) is the next quality up. If you are purchasing an intermediate flute, first go for an all silver headjoint and silver plated body and keys. Then all silver headjoint and body with plated keys, then all silver flute. You can also customize your flute with different gold contents, gold plated on silver, platinum, and more! Platinum makes your flute sound darker and more powerful, and gold makes your flute have a warmer and luscious tone. The most important part of the flute is the head joint, so if you cannot afford the body and foot joint, make sure to update the head joint's metal quality at the least. Some companies sell head joints with "wings" on the lip plate. The "wings" help direct the air in the flute and minimize the amount of air that escapes. It helps you have a clearer tone and sound less airy. Watch out for gold plated lip plates. They don't affect tone at all and are just for looks. However a better quality riser, the short "chimney" that attaches the lip plate to the head joint, does improve tone.
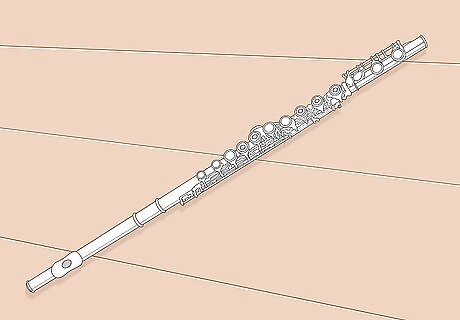
Choose a flute with well-crafted pieces. There are many components that allow a flute to work, but in particular, look for flutes with open key holes, an in-line G key, a B foot, a gizmo key, and a split E mechanism. Open hole keys: These allow the air to go through when uncovered, and this leads to a fuller, more resonant tone. The open holes also create less air resistance, so it is easier to play notes. This is highly recommended, but it will take some adjustment once you switch because you will have to cover the holes completely with your fingers. Start out with plugs in the keys that are hardest to reach, so you can play normally, and work at playing without the plugs while you practice. In line G key: This is a matter of personal preference and won't really affect the tone. An in line G key just means that one key will be a bit harder to reach (see the image to the right). If you have small hands or are used to playing with an offset G key, it is fine to stick with that. The main reason an in line G key is preferred is for the pleasing look of the keys. B foot: You can purchase a foot joint with a few extra keys that enables you to play one chromatic step lower than usual (a B). This is a good idea because you will probably come across the note in advanced flute literature. A flute with a B foot can also produce fuller tones than the same one with a C foot. Gizmo key: This key will almost always be included in a B foot and makes it easier to play high C or C# (5+ ledger lines). Split E Mechanism: A split E mechanism divides the action of the upper and lower G keys. Normally the G keys close together; in a split E mechanism, that is still true, but the lower G can close when the third octave E natural is played. This provides ideal tone hole venting for the high E and can improve tuning and tone for a flutist.



Comments
0 comment