views
Preliminary Action
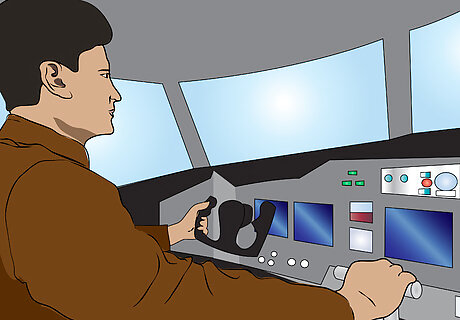
Take a seat. The Captain usually sits in the left seat where the concentration of instruments are (especially for light single engine aircraft). Fasten your seat-belt and shoulder harness if so equipped. However, almost all aircraft have dual controls and you can successfully land the plane from either side. Do not touch the controls yet! The autopilot will most likely be engaged. Leave it on for now. Make sure the unconscious pilot is not leaning on the control yoke (the plane's equivalent of a steering wheel). Some aircraft may have a side stick, which will be a joystick to the left of the captain's seat.
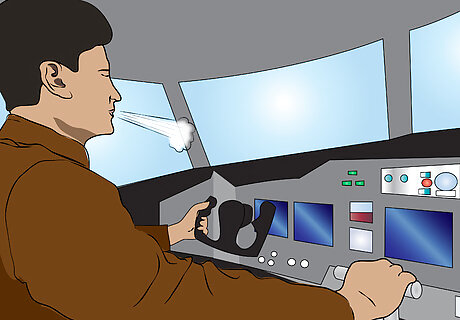
Take a breather. You'll probably be overwhelmed with the sensory overload and the seriousness of the situation. Remembering to breathe will help you focus. Take a slow, deep inhalation to tell your body you're in control.
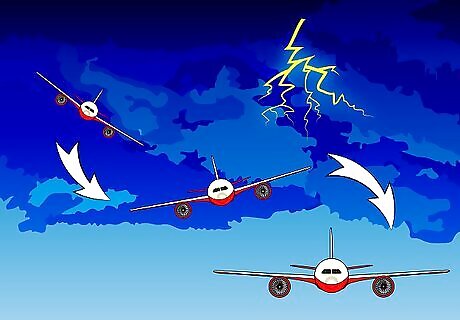
Level the aircraft. If the plane is noticeably ascending, descending, or turning, gently bring the plane into a level flight altitude using the outside horizon as your guide. Finally, all those days of joystick video games are about to pay off! Look for the attitude indicator. Sometimes called the artificial horizon, it consists of a miniature set of "wings" and a picture of the horizon. The top is blue (for the sky) and the bottom is brown. On some complex aircraft, the attitude indicator is displayed on a computer screen in front of the pilot. For older aircraft, it is in the center of the top row of instruments. On modern-day airliners, there will be a Primary Flight Display (PFD) directly ahead of you. This displays vital information such as Indicated Airspeed (IAS) measured in knots, Ground Speed (GS), also measured in knots, altitude (measured in feet) and heading. It should also display whether or not the autopilot is engaged, usually denoted by AP or CMD. Correct the pitch (climb or descent) and bank (turning) if necessary so that the miniature wings are level with the artificial horizon. If they are already level, do not touch the controls at all; move to the next step. If you do need to level the plane, however, adjust the flight attitude by pulling the yoke (or stick) toward you to bring the nose up or push it forward to lower the nose. You can correct bank (turning) by rotating the yoke or stick left or right to turn in that direction. Simultaneously, you must apply slight back pressure to the yoke to prevent the airplane from losing altitude.
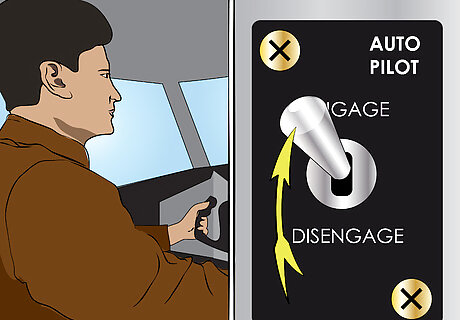
Turn on autopilot. If you have been trying to correct the flight path, the autopilot is probably disengaged. Turn it on by pushing buttons labeled "AUTOPILOT" or "AUTO FLIGHT," "AFS" or "AP" or something alike. On passenger airplanes it is situated in the center of the glare-shield panel, in a position where both pilots can easily reach it. On most flights during cruise stage, the autopilot is already on. Only if this results in the aircraft doing things you do not want it to do, disengage it again by pushing all buttons you can find on the yoke (which then probably will include the autopilot disconnect button). Usually the best way to get an aircraft to fly in a stabilized way is to not touch the controls; it is designed to be stable and most people who are not trained pilots tend to over-control the plane.
Landing Procedure
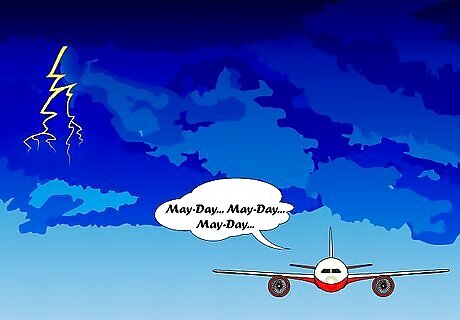
Call for help on the radio. Look for a hand-held microphone, which is normally to the left of the pilot’s seat just below the side window, and use it like a CB radio. Find the microphone or take the pilot's headset, press and hold the button, and repeat "Mayday" three times followed by a brief description of your emergency (pilot unconscious, etc.). Remember to release the button to hear a response. An airport flight controller will help you fly the plane to a safe landing. Listen carefully and answer their questions to the best of your abilities so they can better assist you. Alternatively, you can take the pilot's headset and press the push-to-talk (PTT) button, which is on the yoke. However, so is the autopilot button, and if you press it by accident, you could mess with the autopilot system. Stick with the hand-held radio. Attempt to call for assistance on the frequency you are currently on. - This is where the pilot was already communicating with someone only moments prior. Use the words "May-Day, May-Day" at the beginning of your call. If that fails after repeated attempts, and if you know how to change the radio frequencies with certainty, you can call for help on 121.50 MHz. If you see a red light on the panel illuminated, tell the controller. Below the red light, there will a description of the light, e.g., Generator, Low Voltage. Obviously this requires prompt attention. If you can find the Transponder on the radio stack (it has four windows of 4 numbers from 0-7, usually located near the bottom of the stack), set it to 7700. This is an emergency code that will quickly alert air traffic controllers that you have an emergency.
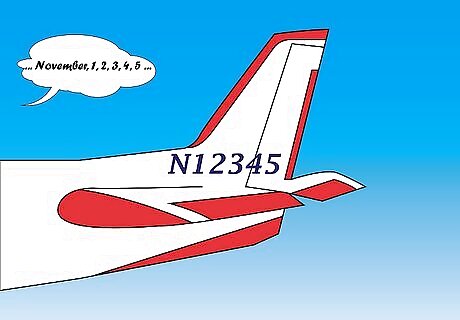
Use the airplane call sign when you talk with the controller. The airplane's call sign is located on the panel (unfortunately, there's no standard location, but the call sign should be somewhere on the panel). Call signs for airplanes registered in the United States start with the letter "N" (e.g., "N12345"). "N" can be confused with other letters over a radio, so say "November." Announcing the call will clearly identify the aircraft and will also give the flight controllers important information about the airplane so they can better help you land it. If you are on a commercial aircraft (an aircraft operated by an airline, such as United, American, Southwest, etc.) the aircraft is not referred to by its "N" number. It is instead called by its call-sign, or the flight number. Sometimes pilots will put a sticky note on the panel to remind them. Ask a flight attendant what the flight number is. When you call on the radio, say the airline's name first, then say the number. If the flight number is 123 and you are flying United, your call-sign would be "United 1-2-3". Do not read the numbers like a normal number, so do not say "United One-hundred twenty three." As a safety measure, the Air traffic control will send up jets to escort you. You can follow the jets as they can guide you to the runway.
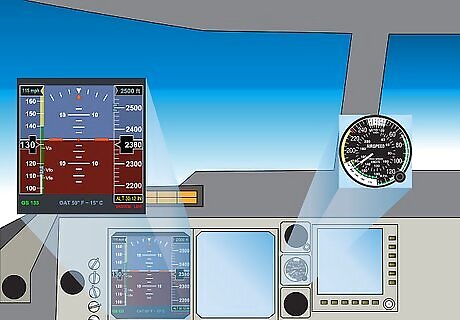
Maintain a safe speed. Look for the airspeed indicator (usually labeled ASI, Airspeed or Knots) usually located toward the upper left of the instrument panel, and keep an eye on your speed. Speeds are either in MPH or Knots (similar values). Do not fly a small 2-seater less than 70 knots. Do not fly a large (Jumbo) less than 180 knots. Ultimately, just make sure the needle stays in the "green" zone for normal flight, until you can get someone on the radio to help. If the airspeed starts increasing, and you haven't touched the throttle, you're probably going down, so pull back gently on the control yoke. If the airspeed is decreasing, gently push the nose down to increase the speed. Do not let the aircraft fly too slowly, especially near the ground. It may stall (the wing no longer produces lift).
Begin the descent. The controller you are talking to should brief you on the landing procedures for the aircraft and direct you to a safe spot to land. They will most likely line you up with the runway at an airport, but under rare circumstances you may have to land in a field or road. If you must land and can't get to an airport, avoid places with power lines, trees, or other obstacles. To start reducing the plane's altitude, pull back the throttle (to reduce power) until you hear the sound of the engines change - then stop. The throttle levers are almost always located in between the Captain and First Officer's seat. Otherwise, it may be mounted on the ceiling in the center, close to the windscreen. It's impossible to generalize, but this probably shouldn't be more than ¼" (0.6 cm) or so of throttle travel. Keep the airspeed within the green arc. The nose of the aircraft should drop on its own without pushing forward on the yoke. If you find you are constantly pushing or pulling on the yoke to keep the airplane steady, you have to use trim to relieve those pressures. Otherwise, it can get very tiring and/or distracting. The trim wheel is typically a wheel approximately 6–8 inches (15.2–20.3 cm) in diameter that rotates in the same direction as the landing gear wheels. It is often located near your knees on either side. It is black and has small bumps on the outside edges. As you hold pressure against the yoke, gently turn the trim wheel. If the pressure you are holding gets greater, turn the wheel in the other direction until you no longer have to maintain the original level of pressure. Note: On some small airplanes, the trim wheel may be found on the headliner and in the shape of a crank. Also, on some larger aircraft the trim is in the form of a switch on the yoke (control stick). It is usually on the left near the top. If the aircraft is pushing the yoke towards you, then push the lever down. If it is pulling away, push the lever up.
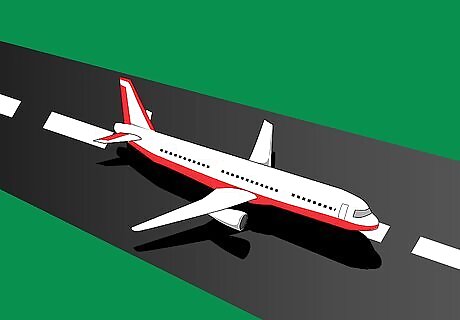
Go for landing. You'll be using a variety of drag devices (slats and flaps, next to the throttles) to slow the plane down without losing lift. Get the landing gear down, if it's retractable. If the gear is fixed, it's always down and you don't need to do anything. The gear handle (the end of the handle is shaped like a tire) is usually just to the right of the center console, above where the knee of the co-pilot would be. If you need to land on water, though, leave the landing gear up. On most large, commercial aircraft, there will be a GPWS (or EGPWS for Airbus) system. What it does is when you reach a certain altitude (usually 2500, 1000, 500-100, 50-5), it will call out that altitude. It will also say "Approaching Minimums" and "Minimums". "Approaching Minimums" means you are 100 feet from approaching "Minimums", depending on what kind of approach you are executing. When "Minimums" sounds, you should check if the runway and/or the approach lights are in sight. If not, you must engage the TO/GA mode and execute a missed approach. (If you can't find the TO/GA button, just put the throttle to full). Be sure to activate the autobrake and arm the spoilers (if any) if possible. Look for the autobrake knob, it's location will vary from aircraft to aircraft. The spoilers ensure a firm landing and reduce the chance of you flying up in the air when you flare. Beware of crosswind. If there's a crosswind, then you must counter it by pushing going into a "crab" position. A "crab" is where your nose is pointing more or less in the direction of the where the wind is coming from. Generally, you want to experiment with the crab until you get the perfect angle to continue the approach. Use the rudder pedals if necessary. Just before you touch down, you'll need to raise the nose to flare and land on the main wheels first. A flare is typically 5-7 degrees in a small aircraft with 60-70 knots, depending on your weight. In some larger aircraft, a flare may mean up to 15 degrees of nose up, with 140-150 knots, once again depending on your weight. In a small general aviation aircraft, flare at 5-10 feet. On a small narrow-body airliner, flare at 10-15 feet. On a large, wide-body aircraft like the 777 or A380, you should start initiating your flare no lower than 20 feet. If you flare too high, you will float down the runway, causing you to use up more runway, and sometimes causes you to have a hard landing due to the plane slowing down while floating. You MUST retard the throttle (put it to idle) just before your flare. If flying a large commercial aircraft, activate your reverse thrust, if the plane has it. On Boeing aircraft, there are bars behind the throttle quadrant. Pull the bars back all the way and the thrust will be directed forward to aid in stopping the aircraft. If all else fails, pull the throttle back as fast and far as possible. If there's a crosswind and you're misaligned with the runway, it may be a good idea to only activate one reverse thrust to realign the plane, then activate the next one once you are on the centerline. Reduce power to idle by pulling the throttle all the way back, until you reach the sign labeled idle. It is normally a black lever usually located between the pilot and co-pilot. Gently apply the brakes by pressing on top of the rudder pedals. Use enough pressure to stop the plane without skidding. The rudder pedals themselves are used to steer the plane on the ground, so don't use them unless the plane is veering off the runway.
Congratulate yourself. Once you get some help for the unconscious pilot, you can finally faint. Go ahead, you earned it. And if you can ever stand to see another airplane, let alone get on one, you just may have "the right stuff" and should consider taking flight lessons from a certified instructor. Then again, maybe not. Just write a book about it.


Comments
0 comment