views
Preparing the Chocolate
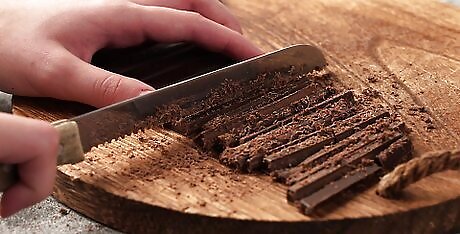
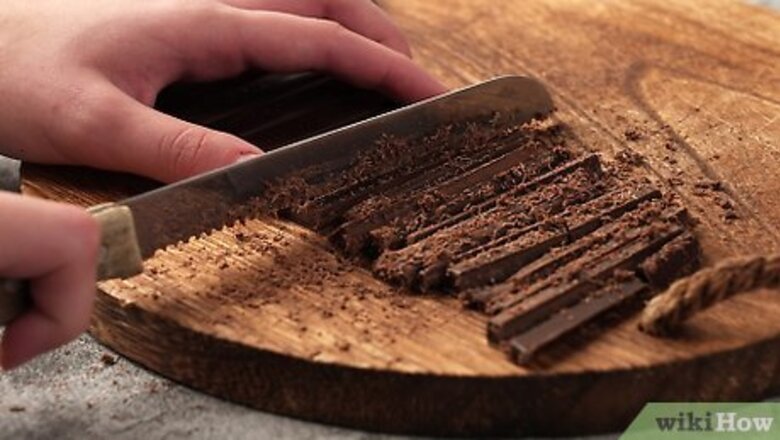
Chop the chocolate into small pieces with a serrated knife. If you try to melt a whole chocolate bar, the outside will melt before the center, and the chocolate will be more likely to scorch. By chopping up the chocolate into small pieces, it will melt more evenly. You can skip this step if you're using chocolate chips.
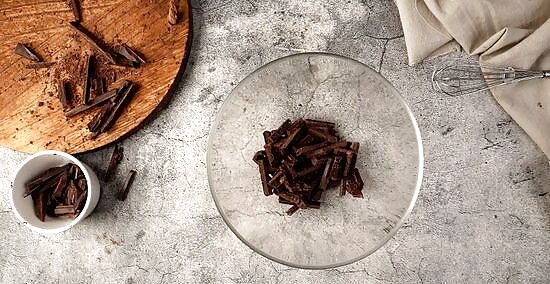
Place the chocolate into a microwave-safe bowl. The bowl should not have metal trim, which can cause dangerous sparks that can make the microwave stop working. If the bowl is plastic, it should either say “microwave safe” or have a small square with wavy lines somewhere on the dish. Glass and ceramic are usually safe for use in the microwave. You can test whether a dish is microwave safe by placing it in the microwave along with a cup of water. Turn on the microwave for 1 minute on high heat, then touch the dish. If the dish is cool and the water is warm, the dish is microwave-safe. However, if the dish is hot and the water is cold, the dish absorbs heat and should not be used in the microwave.
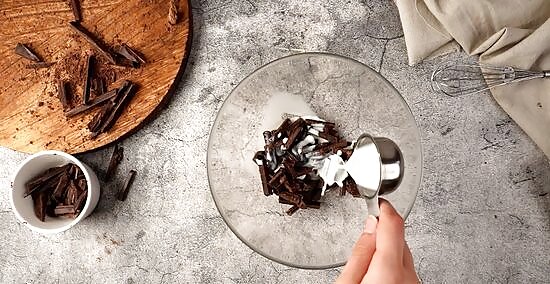
Add milk or oil if you want to thin the chocolate. If you want a thinner chocolate glaze, or you just want to make your chocolate easier to work with, add a capful of milk, a small pat of butter, or 1 teaspoon (4.9 mL) of an unflavored oil, like canola or coconut oil. This will also help keep your chocolate from hardening as quickly once it’s cool. It's best to start with a small amount and add more if you need to. Do not allow any water to get into the chocolate. The chocolate will seize and become lumpy, making it unusable.
Microwaving the Chocolate
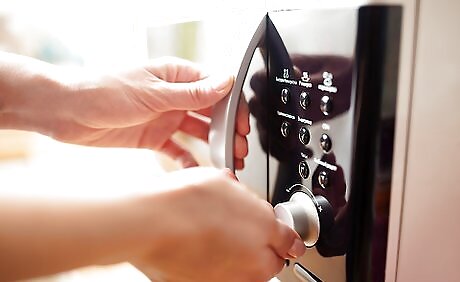
Microwave the chocolate uncovered for 30 seconds on low power. Since microwave settings can vary, it’s helpful to turn your microwave to the lowest setting so your chocolate doesn’t scorch. It will take a little longer to melt your chocolate this way, but you will have more control over the finished product. If you’re not sure how to change the power level, check your microwave’s manual. If you need to, you can also use the defrost setting.
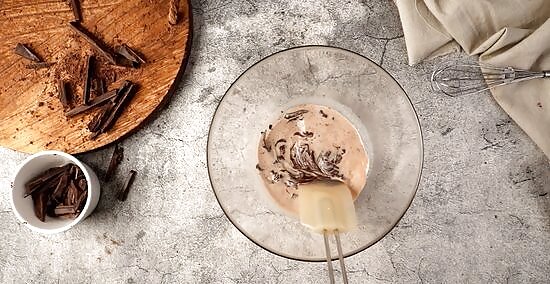
Stir the chocolate with a spoon or rubber spatula. Even if the chocolate doesn’t look like it’s melted, stir it after the first 30 seconds in the microwave. Chocolate can appear to hold its shape once it starts melting, so don’t go by the appearance alone. Be sure to scrape the sides of the bowl when you stir the chocolate. The sides of the bowl will heat the fastest, so the chocolate will scorch there first.
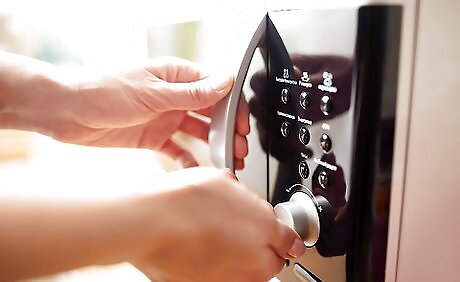
Microwave the chocolate in 10-15 second bursts until it’s almost melted. As the chocolate begins to melt, microwave it in 10-15 second increments to help you control the temperature more easily. Scrape the sides of the bowl each time you take the chocolate out of the microwave. When most of the chocolate is smooth with just a few solids remaining, do not heat it any further. Dark chocolate will take longer to melt, while milk and white chocolates will melt more quickly.
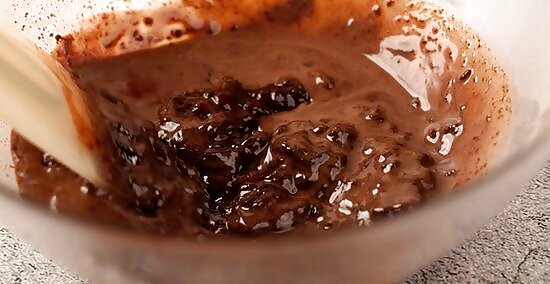
Stir the chocolate until the remainder of the chocolate has melted. The heat from the melted chocolate should cause the remaining solid pieces to finish melting. If the chocolate isn’t smooth after 30 seconds of stirring, place the bowl back in the microwave for another 5-10 seconds.
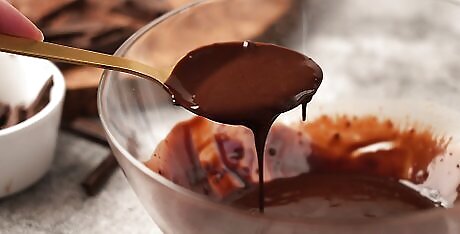
Allow the chocolate to cool for about 5 minutes. The chocolate will be too hot to enjoy as soon as it finishes melting. Once it’s cool, enjoy your melted chocolate as a dipping sauce for fruit, marshmallows, or pretzels or as a drizzle for pastries or popcorn. If the chocolate gets hard while you’re working with it, place it into the microwave for an additional 20 seconds, then stir it again.






Comments
0 comment