
Taking out the Hem
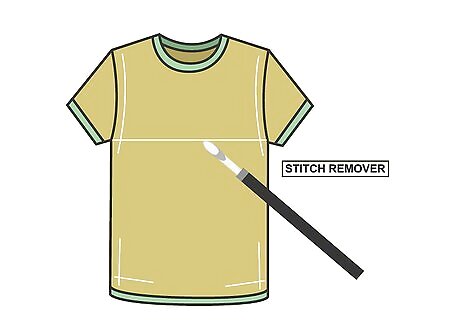
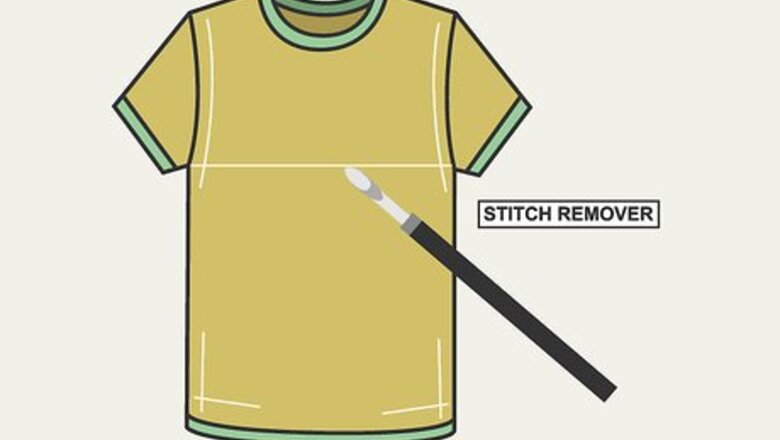
Purchase a stitch remover. Although hems can be removed with scissors, you risk damaging the fabric. Stitch removers can be found at most fabric or craft stores. Use them as you work to avoid stretching or cutting your fabric, which can make the mark removal process harder. Stitch removers are also known as seam rippers.
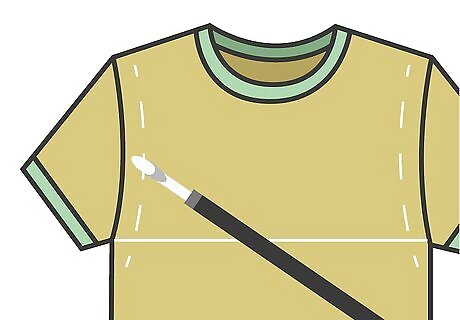
Place the seam ripper underneath one stitch. Choose a stitch near one side of your hem's end. Hook the stitch with your seam ripper and pull it up. Given enough force, this should break the thread.
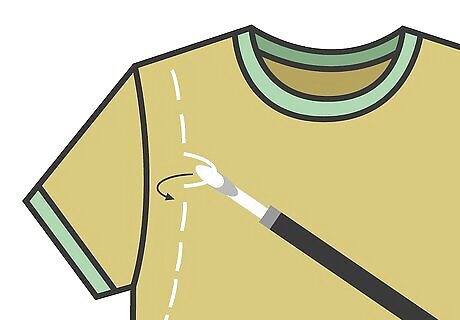
Skip ahead several stitches and pull on the seam. Three or four stitches ahead is usually sufficient. Set the stitch remover aside and pull on the seam with your fingers. Continue pulling on the seam until the tail end of the string is removed from the fabric. Cut the string with a sharp pair of scissors for a clean break. Avoid breaking the string as you pull to keep from damaging the fabric.
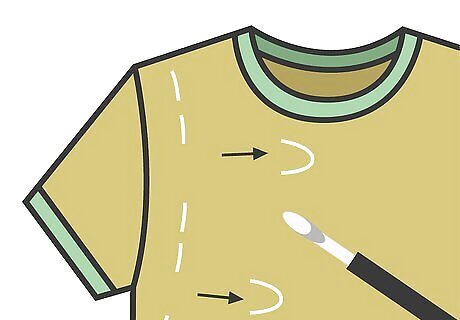
Remove every third or fourth stitch. Continue breaking stitches as you work up the hem until you have removed it entirely. Once you're finished, smooth your garment as much as you can to avoid more creasing. Fold your garment away until you are ready to iron away the hem marks.
Applying a Borax Solution
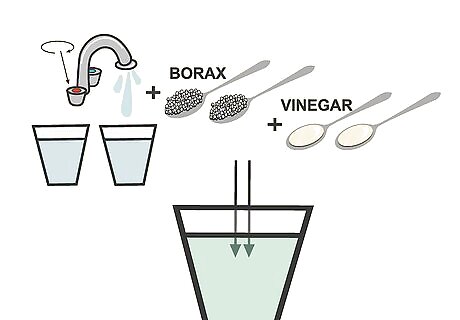
Make a borax solution using borax, vinegar, and water. All-purpose borax solutions work well for removing hem lines. Mix two tablespoons (1 oz) of borax with two tablespoons (1 oz) of white vinegar in a bowl. Add two cups (16 oz) of hot water and a small squirt of dish soap to complete the solution.
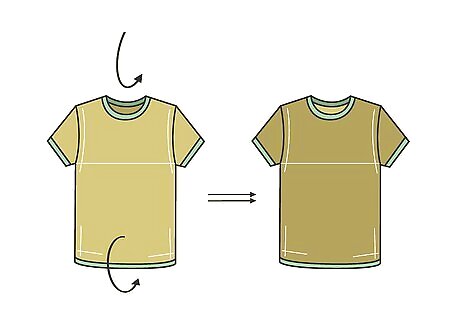
Turn your garment inside out. You will achieve best results if you can iron the hemlines as directly as possible. While turning your garment inside out, check the tag for its fabric material. If it's made of a delicate material (like satin), remember to use a low setting on your iron.
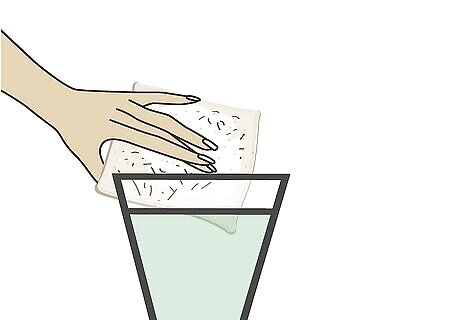
Dip a clean cloth into the solution. Wring your rag out after dipping it in the solution. Ideally, your garment will be slightly damp but not soaked. Continue squeezing the cloth until it no longer drips over the solution bowl. Alternatively, you can fill a spray bottle with the borax solution and apply it liberally to the garment.
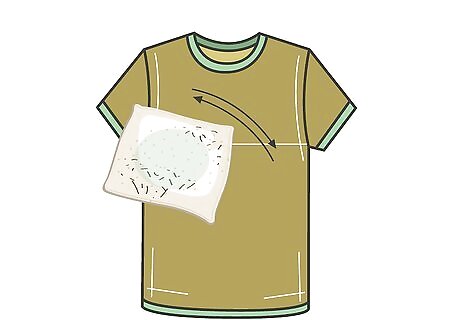
Rub the garment with the borax solution. The borax solution will help your fabric absorb the heat and return to its natural shape. Rub the garment in circular motions until the entire hemline is damp. Covering the entire garment in solution is not necessary.
Ironing Away the Creases
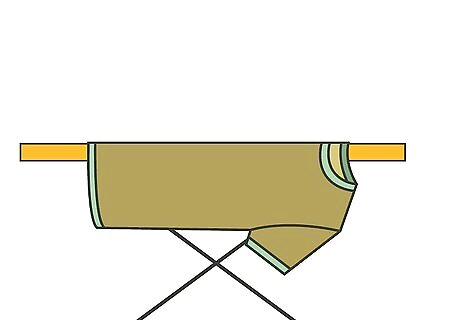
Lay the garment over the ironing board. Make sure the garment is completely flat on the board. The garment's hemlines should be facing upward so it is ready to iron. If your garment has hems on both sides, iron both sides separately.
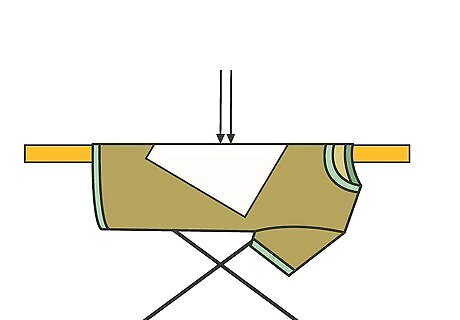
Place a cloth on top of the garment. Garments, particularly those made of delicate fabrics, may not be able to withstand the full heat of the iron. Regardless of the fabric, lay a cloth flatly over the garment. Smooth the cloth out with your hands to evenly iron your garment.
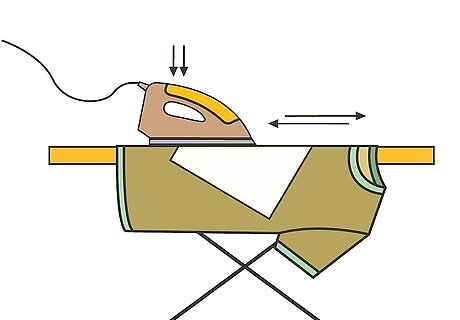
Press the cloth with your iron. Slowly move your iron over the fabric in a straight, repeated line. Remove the fabric after ironing for several minutes to monitor your progress. Keep ironing until the marks are removed completely. Spray starch onto the garment to remove particularly stubborn hem marks. Don't hold the iron in one spot for too long, which can burn the fabric.
Give your fabric time to dry. Air dry your garment by placing it on a flat, hard surface. When it has dried, use a clothes brush to iron out any wrinkles from drying. Inspect the fabric for any hem marks you may have missed. If you find any, iron the fabric again. Do not scrub the fabric with your clothes brush, which can damage or crease the fabric. Instead, use a firm sweeping motion.
Covering or Fading Difficult-to-Remove Hem Marks
Try scratching away hem marks. If a hot iron cannot remove your hemlines, use a spoon or nail to scratch your hem marks off. Drag your spoon or nail across the hem marks from left to right repeatedly until you notice the marks visibly fading. Scratching will usually not remove the hem marks but may mask their visibility. Press the fabric with steam to keep the hem marks from reappearing later.
Embroider over unsightly hem marks. If you've tried to iron out the hem marks and can't make any headway, embroider a design by hand or with a machine over the marks. Choose a design that you love and can completely cover the hem marks. You can take your clothing item to a seamstress if you have never embroidered before.
Color over your hem marks with a pen or marker. If you cannot get rid of stubborn hem marks, you can camouflage with a permanent marker or pen. Choose a marker in a matching color of your fabric and fill in the hem marks with the marker. If you choose the wrong color by accident, use rubbing alcohol, nail polish remover, or a gentle stain remover to remove the pen or marker from your fabric.
Place an iron on patch over the hem mark. If you don't know how to embroider but want to cover up the hem marks, iron on a patch or applique. Pick a durable iron-on patch that can cover your hem marks entirely and is machine washable. If you'd prefer not to add a design to your fabric, choose a patch that matches your fabric's color and can blend in well.


Comments
0 comment