views
Choosing the Right Bulb
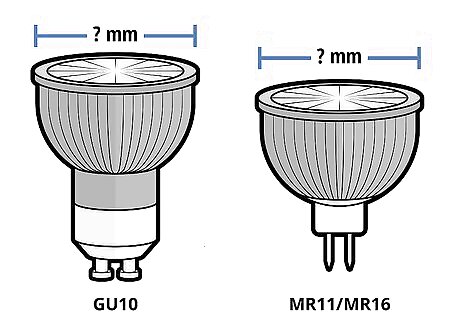
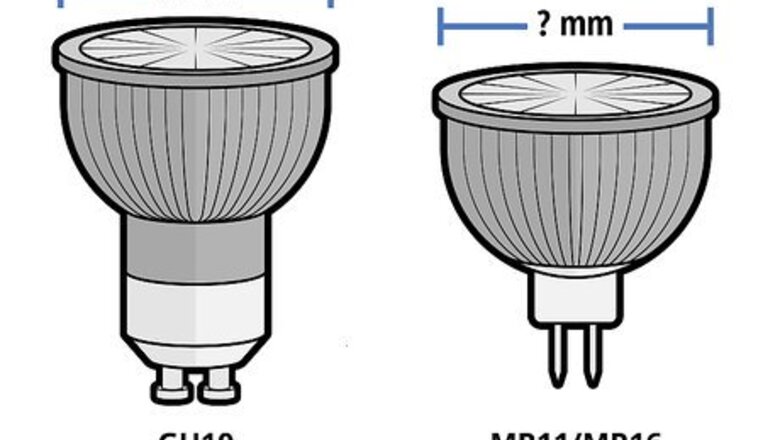
Examine the original fitting and bulb. Most halogen downlights fit into the power supply with small pegs or pins. Check the bottom of the existing bulb to see how the connectors should look, then use a ruler to check the size of the fitting as well as the size of the cut-out for the bulb. Be sure to reference this information as you’re shopping for LED bulbs. You may be able to find the size of the fitting printed somewhere on the socket. If your bulb has a twist-and-lock fitting with two prongs on the bottom, it’s most likely a 240-volt GU10 bulb, and generally has a 50mm fitting. These can usually be switched for LED bulbs without replacing any parts. If the bulb has 2 sharp pins and pushes into the fitting, it is likely a low-voltage MR11 or MR16 bulb. These 12-volt bulbs require a transformer if you’re using them in place of a halogen bulb.
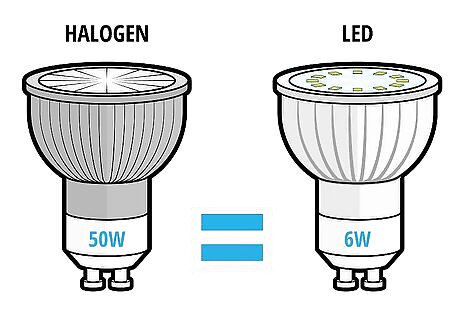
Look at the base of the globe for the wattage. Each halogen bulb should be printed with the wattage that it uses, or the amount of power that the bulb consumes when it’s turned on. Since LED bulbs use far less power than halogen bulbs, they will not have the same wattage rating. However, most LED bulbs list their equivalent wattage on the packaging. If you can’t find the information on the packaging, you can estimate the equivalent wattage. LED bulbs generally use about 10% of the power of their halogen counterparts, so a 5-6 watt LED would be roughly equivalent to a 50 watt halogen bulb.
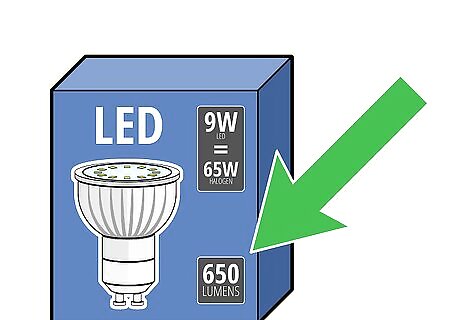
Choose a bulb that's around 650-700 lumens to match most halogen bulbs. Lumens measure the light output of a bulb, so this is the number you should match to ensure you get the same effect from your LED bulb as you did from the halogen bulb. Average halogen bulbs are between 650-700 lumens, but you may have different needs for customized lighting effects. If your downlights are used to light a workspace area, you will probably need higher lumens. If your downlights create soft ambient lighting in a gallery space, you might prefer lower lumens.
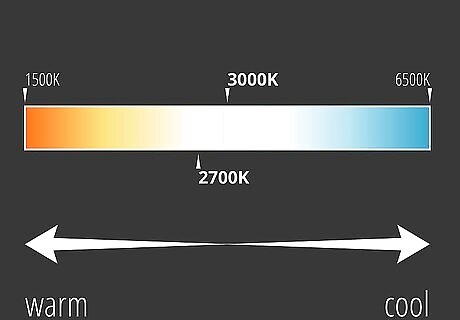
Choose a color temperature between 2700-3000K for warm light. Most people think of bluish lights when they think of LEDs, but they are available in a wide range of color temperatures. Lower numbers are warmer, while higher numbers are cooler. If you prefer the warm glow of a typical halogen bulb, look for LED bulbs in the 2700-3000K range. In the home, these lights are popular in living and bedroom areas.
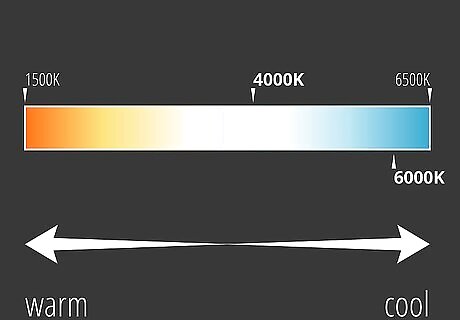
Opt for a color temperature between 4000-6000K for cool lights. If you prefer the modern, sterile look of cooler lights, look for a higher color temperature range. These are the hues most people associate with LED bulbs. These are often used in kitchens and bathrooms.
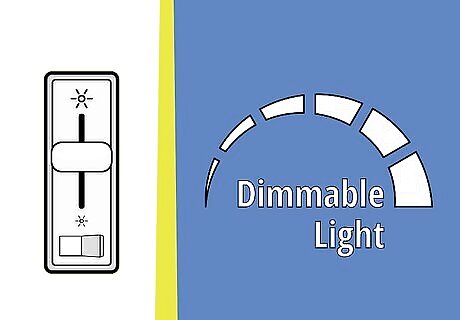
Choose dimming LED bulbs if you have a dimmer switch. If you like to adjust the brightness of your lights depending on the time of day, you can opt for LED bulbs that work with a dimmer. Most LED bulbs will work with your existing dimmer. However, in some cases, you may have to change the dimmer to a low-voltage version. To replace the dimmer switch, turn off the power to the switch, then unscrew the switch plate and remove it. Pull the switch out of the electrical box and remove the wires, then reattach the wires to the new dimmer switch. Push the new switch into the electrical box and replace the switch plate.
Replacing GU10 Lights
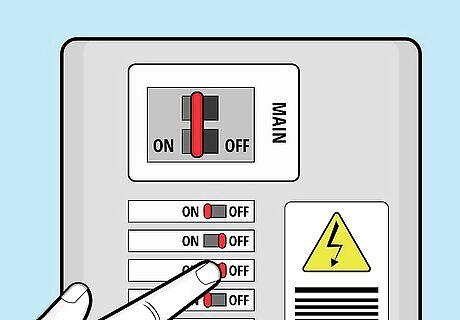
Cut off the power to the lighting circuit to avoid electrical shock. It’s important to follow all safety protocol when you’re working with electricity, or you could suffer a dangerous or even deadly shock. Find the breaker box in your home and make sure the electricity is cut off before you unscrew any light bulbs. If you’re not sure which breaker controls the light, have someone else stand in the room and turn off various breakers until the second person tells you that the light has gone off. To be extra safe, double-check that the circuit is off with a simple circuit tester.
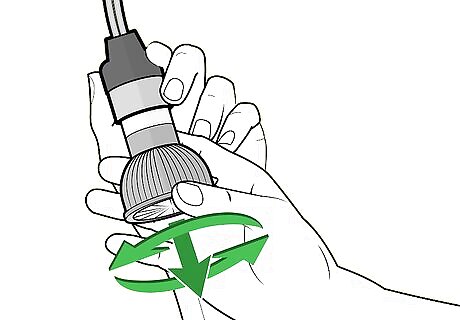
Remove the halogen bulb by twisting it a quarter of a turn and pulling it out. GU10 bulbs twist and lock into position, so you should be able to just twist it counter-clockwise, then pull straight down to remove the existing halogen bulb from the fitting.
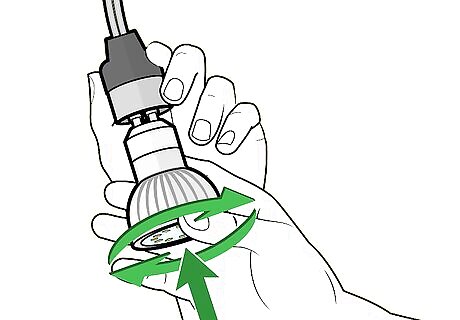
Push the GU10 LED into the fitting, then turn clockwise to lock it in. As long as you purchased the correct bulb for your fitting, installing the new LED bulb is as simple as removing the old one. After a quarter of a clockwise turn, the bulb should lock into place.
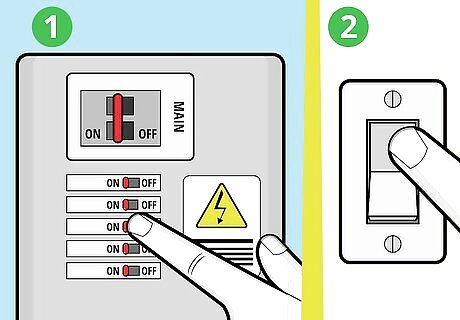
Switch the power back on, then turn on the new LED bulb at the light switch. Flip the breaker back to its original position to restore power to the light switch. After that, you should be able to turn on the light from the light switch as usual. Although some types of bulbs require a short amount of time to warm up, LED bulbs work instantly, just like halogen bulbs.
Switching out MR11 or MR16 Lights
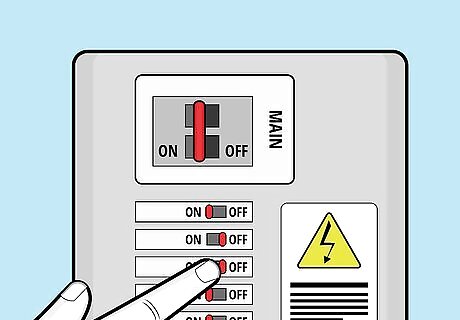
Turn off the power to the lights before you do anything else. Since you’ll be working with wiring as you replace the transformer, it’s extremely important to follow all electrical safety guidelines. Turn the power off to the lights at your home’s breaker box to ensure you don’t get hurt. If you’re not sure which breaker switch controls the light, try turning them off at the box one by one until the light in the room goes off.
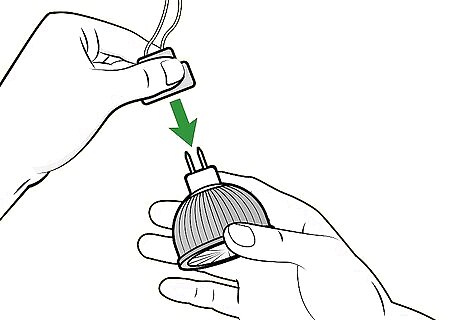
Pull out the existing halogen light. MR11 and MR16 lights have pins that push straight into the fitting, so you should be able to pull it straight out of the socket. Dispose of the old bulb by throwing it into the trash. While it’s safe to throw halogen bulbs in with your regular garbage, compact fluorescent lights (CFLs) and fluorescent tubes contain mercury and should be treated like hazardous waste. If you have any of these you need to dispose of, check to see if there is a drop-off location in your area where you can take light bulbs that contain mercury.
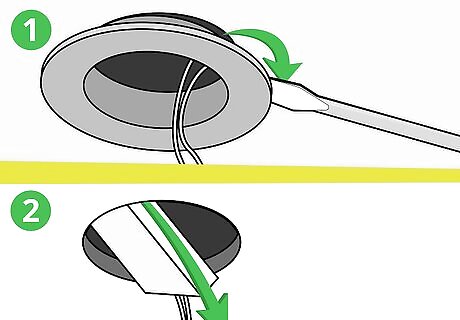
Remove the fitting and locate the transformer in your MR16 circuit. Use a screwdriver to loosen any screws that are holding the fitting into place and carefully remove it. Follow the wires until you find the transformer, which is usually located just above the light fitting. You may need to go into your attic to access the transformer.
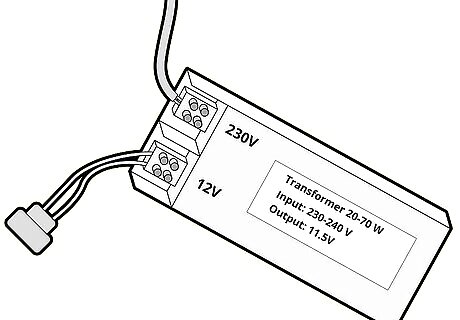
Find the transformer's minimum and maximum load rating in VA or Watts. This information should be printed somewhere on the body of the transformer, and it may be either a fixed number or a range. If the transformer lists a range, it is an electronic one (20 and 70 in the picture). The bottom number is the minimum load required for the transformer to function, and the top number is the maximum allowable. If there is only one number, the total power consumption of your bulbs on the transformer should be below the transformer maximum load rating and the transformer will be an iron core one. Being much more efficient, your LED bulbs individually will fall well below the transformer’s maximum power range. However, if your LED bulbs do not work or not work reliably on the halogen transformer, you will have an electronic version rather than the old iron core. If you are not dimming on the circuit, it is possible to wire multiple LEDs in parallel and doing so achieve the minimum load rating of an electronic transformer. Add up the Wattage (in VA or Watts) of each bulb to find out the total power. This is a way to reuse electronic halogen transformers. Rewiring by an electrician might be an option. E.g., a room with 4 halogen transformers/light combinations could be rewired to 1 transformer with 4 LEDs.
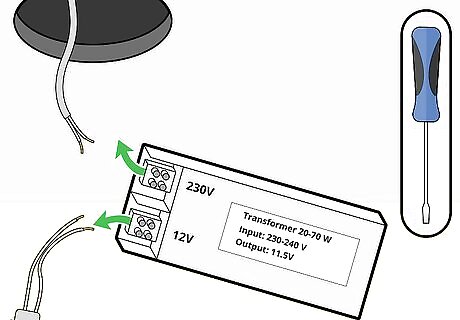
Disconnect the transformer if you need to replace it. MR11 and MR16 bulbs use 5-6 Watts of power, so in most cases, they fall below the minimum load for a transformer. Unscrew the posts holding the black wires in place to disconnect the transformer, then unscrew the wires that attach the bulb fitting to the transformer.
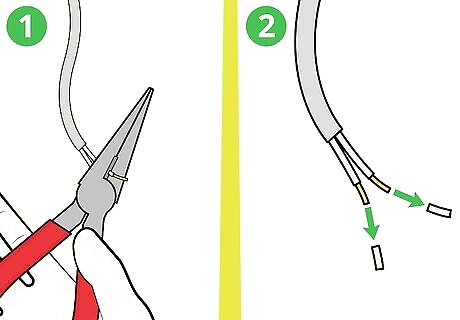
Snip off the ends of the wire and strip 1 in (2.5 cm) of new wire. Using wire strippers, cut off the ends of the wire that were previously attached to the old transformer, then strip off a piece of insulation about 1 in (2.5 cm) from the end of the wire. This will ensure that you are working with fresh, unfrayed wire.
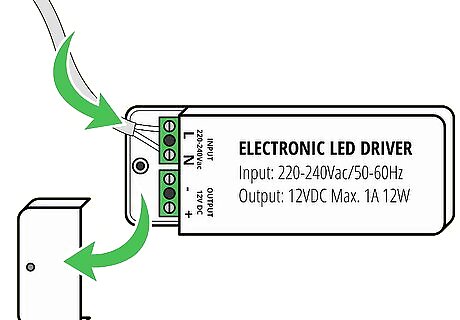
Connect the 2 wires to the LED transformer. You will probably need to remove the cover from the LED transformer to expose the posts where the wires attach. Make sure you connect the live wire to the live input and the neutral wire to the neutral side. If you’re not sure which wire is live and which one is neutral, use a voltage tester to test each side. The neutral wire will not have a reading, and the live one will have one.
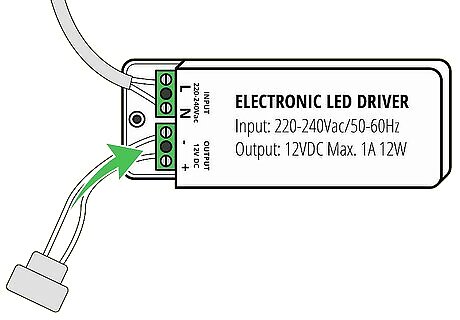
Attach the bulb fitting to the new transformer. Wrap the two wires around the posts on the new transformer, just as they were on the halogen transformer. Attach each fitting separately if you plan on running more than one bulb on the circuit. Make sure if you have more than one bulb on the circuit that you do not exceed the maximum volt load for the new transformer.
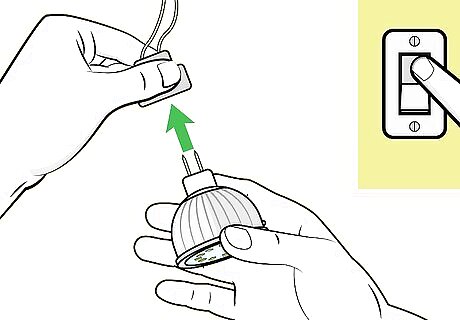
Install the LED downlight bulb into the fitting and turn it on. The pins on the new bulb should easily snap into the fitting, and your new energy-efficient light is ready to go! Turn the power back on at the circuit box, then flip on the light switch to see your LED light at work.


Comments
0 comment