views

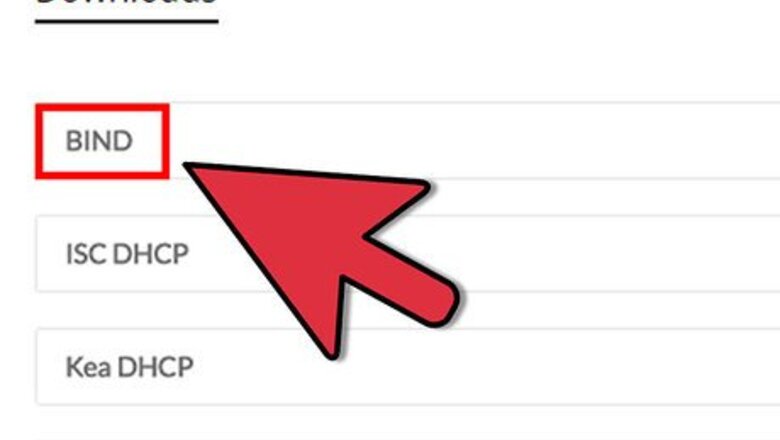
First you need to download the latest BIND and install. You can find it here https://www.isc.org/downloads/.
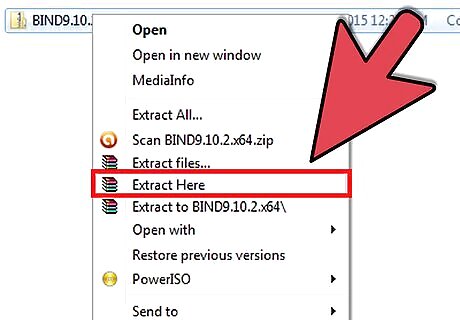
Once the package is downloaded, unzip it to somewhere memorable.
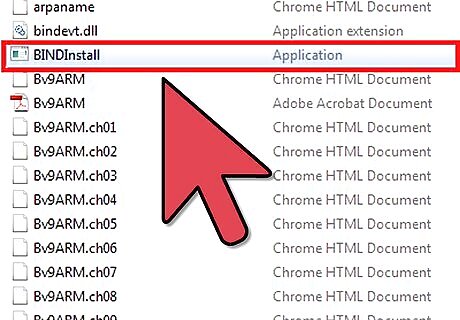
Navigate to the folder and run BINDInstall.exe. You can use the default install path if you like, or c:\named as it's a bit more accessible than c:\windows\system32\DNS. Make sure to check 'Automatic Startup' and 'Keep Config Files after Startup'; do not check 'Start BIND service after install'.
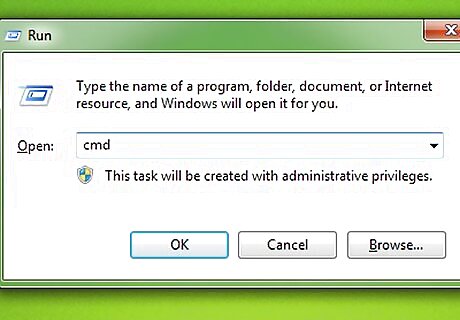
If all goes well you should now have a shiny new folder in the directory of your choosing. Open a cmd prompt.(cmd.exe) For the sake of contiguity lets say the install folder is C:\named. Now change directory to c:\named\bin.
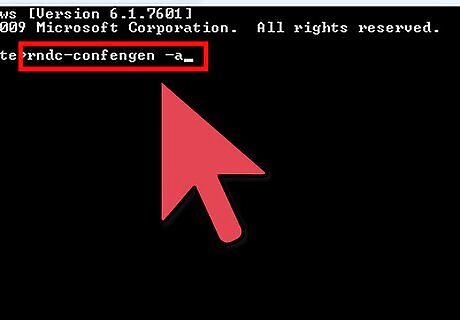
Type the following commands to generate rndc.key and rndc.conf. rndc-confgen -a rndc-confgen >..\etc\rndc.conf
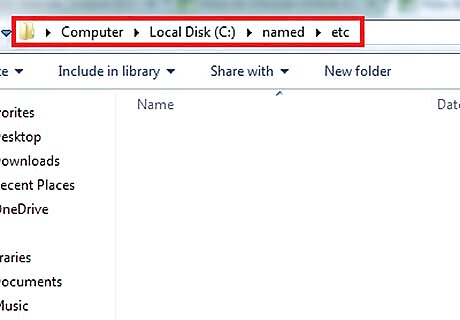
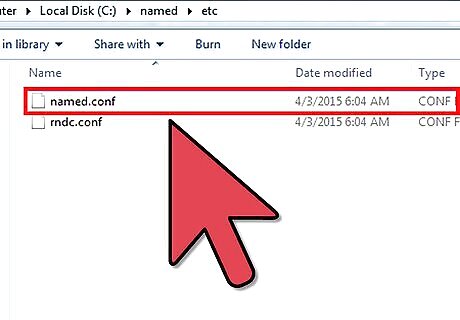
Create the directory 'zones'. Now create a file in c:\named\etc called named.conf.
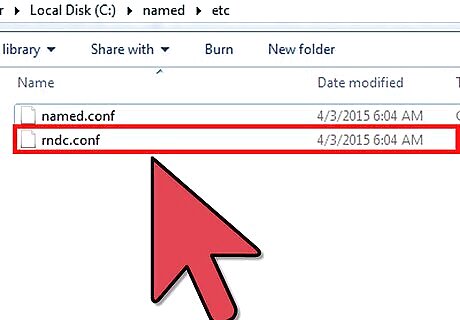
Open rndc.conf look for the line "Use with the following in named.conf, adjusting the allow list as needed:" and copy everything underneath and paste it into the named.conf file.
After editing the files to your preferences you will need to check and see that your DNS server is running properly and that your configuration and zone files are correct. Start the ISC BIND service by right clicking on my computer, selecting manage, then selecting services
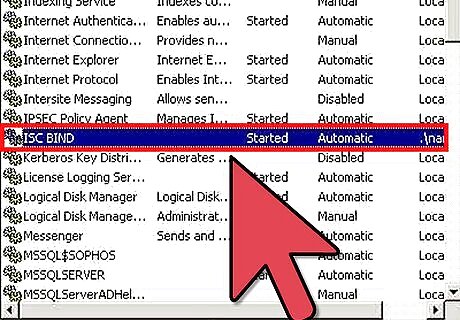
Scroll to ISC BIND and click start. If the server starts with no hiccups and if all is good, you can now configure your network.
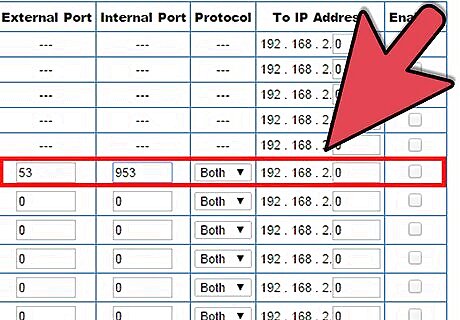
Forward ports 53 and 953 on both TCP and UDP on your router to the ip you are running the server on.
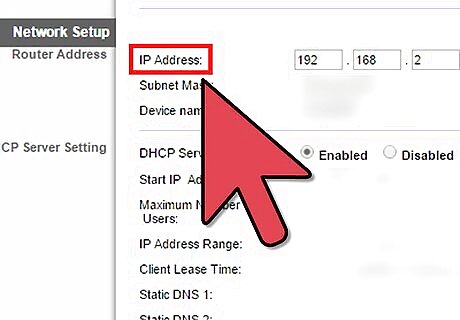
Now you must set your nics on each device to use your bind ip and the ip of your router.
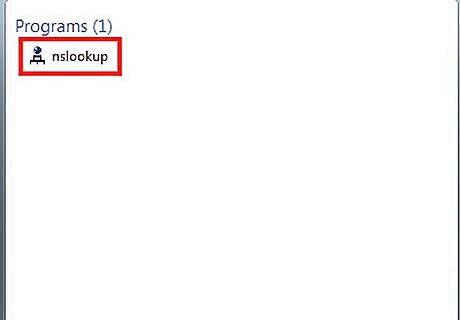
If you have followed the instructions you should be able to do nslookup on the domains and grab results from your new name server.


Comments
0 comment