views
Requirements
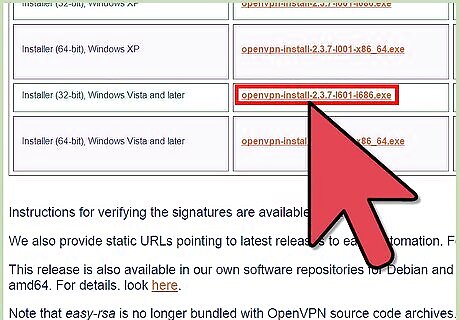
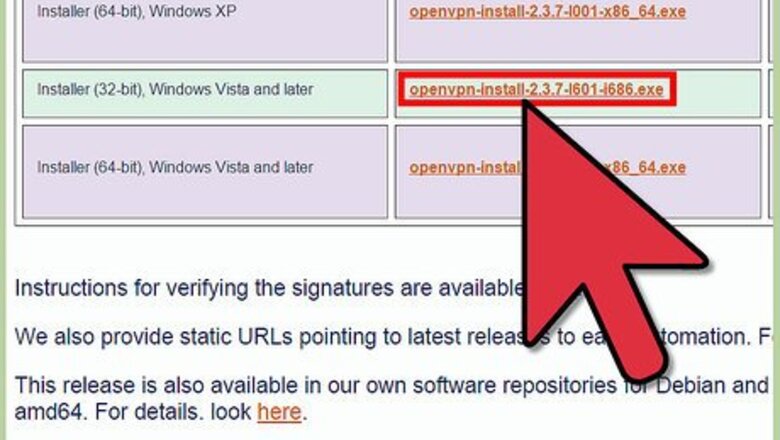
Make sure you have a working VPN Connection. An OpenVPN connection is advised. A free OpenVPN Client can be downloaded here: https://openvpn.net/index.php/open-source/downloads.html . There are free and paid VPN Servers, pick one to your liking and make sure you can connect to it.
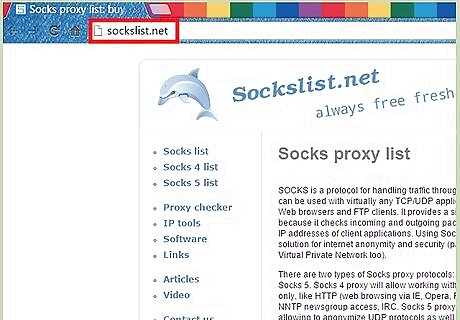
Find a Socks V5 Proxy Server that is up and running. You can use https://www.sockslist.net/ to find proxies and test them.
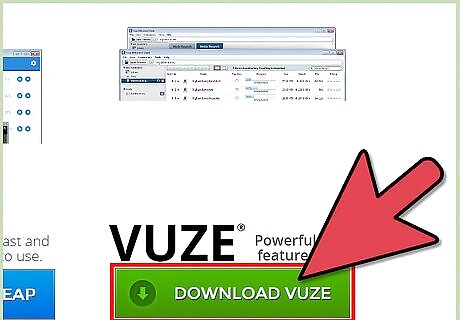
Have the Vuze torrent client installed: https://www.vuze.com. Without it, you can't follow this tutorial. Be careful with installing Vuze, as it might ask you to install additional softwares that you don't need. You can safely decline or skip these options.
Configuring Vuze
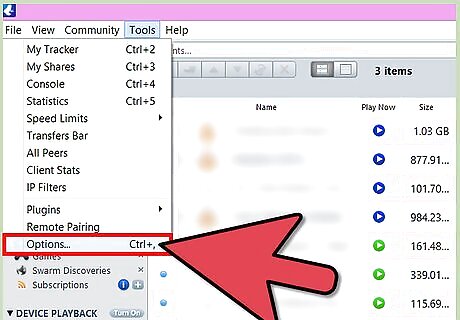
Once Vuze has opened, go to the menubar. Click on Tools ==> Option.
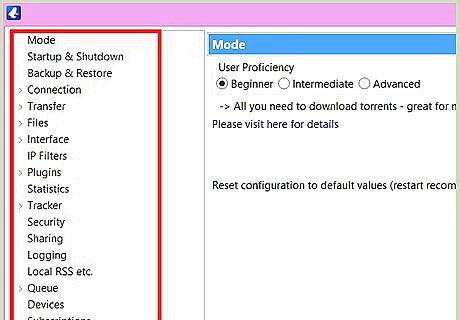
Look for a new screen that now becomes visible. On the left you should be able to see a list of categories, and depending on which category you choose, there are corresponding options on the right.
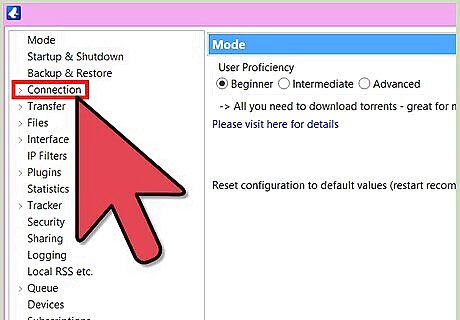
Unfold the category "Connection". Click on "Advanced Network Settings". There should be a list of network adapters available. Look for the "TAP-Windows Adapter V9" and note what value it has. For the sake of an example, this article uses "eth3" (without quotes). Type "eth3" (without quotes) in the bar that says "Bind to local IP or interface". Scroll down and tick "Enforce IP bindings even when interfaces are not available". This ensures that Vuze will stop downloading if the VPN disconnects. Click on the SAVE button found in the left bottom.
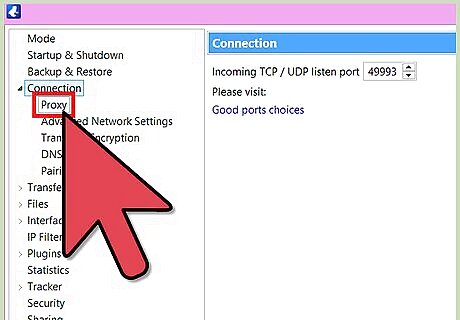
In the same category "Connection", click on "proxy". Enable/tick the following options: Enable proxying of tracker communications Prevent local DNS lookups Enable proxying of peer communications Disable plugin proxies (e.g. Tor/I2P Helper plugins) when a SOCKS server is configured Check proxy status on startup "Show SOCKS icon in status area" + "show non-local, non-SOCKS incoming connections as an error state".
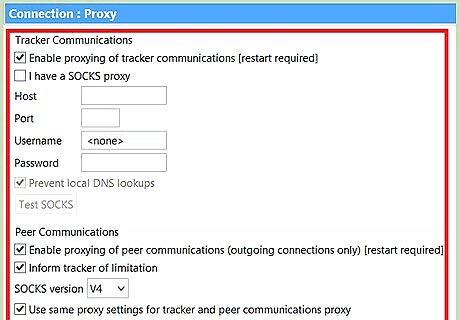
In the same "proxy" window, the next step is to: Copy the proxy IP address in the "Host" field Copy the port number (like 1080, 443, 60088, etc) into its corresponding field Click on the "test SOCKS" button and see if it works. Choose the corresponding SOCKS version in the checkbox below. It is recommended that you use a SOCKS V5 server, as it's more secure. Click on the SAVE button found in the left bottom.
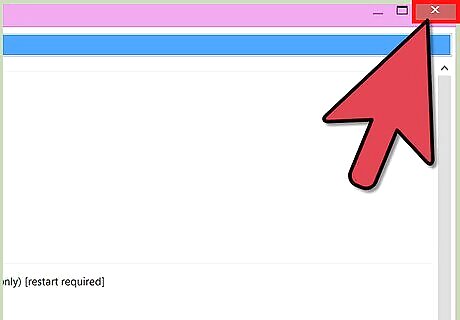
Close the options menu. Restart Vuze and start downloading. If the SOCKS Proxy shows error on startup, all you have to do is find a new proxy and repeat steps 4 + 5.
If You Want to Retain Streaming Options with IP Binding
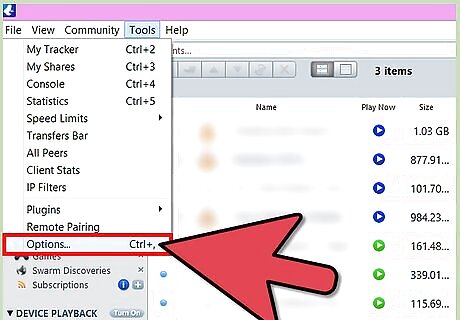
When binding Vuze to the TAP adapter, it changes your IP for everything within Vuze. If you want to retain local host access for streaming then you have to go to the menu bar ==> Tools ==> Options.
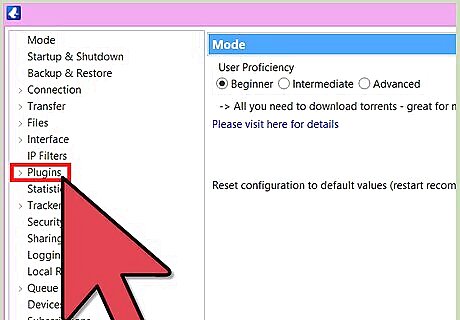
Unfold the category "Plugins", and click on "Media Server". Deselect / untick "Apply interface bindings from Vuze connection configuration"
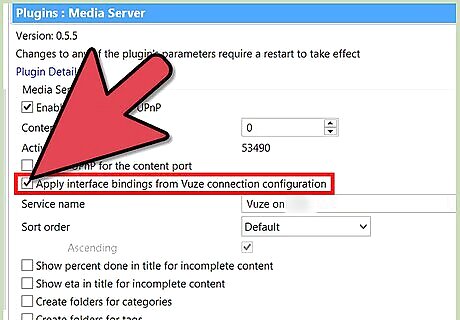
If you do not untick this option, your IP address will be 10.X.X.X when trying to stream from Vuze to VLC (while downloading, etc.). When you do follow through with the previous step, the IP will revert back to 127.0.0.1 which is exactly what you want if you seek for a secure way to download movies and still be able to stream it locally.




Comments
0 comment