
views
- "No bootable devices found" is usually caused by an incorrect boot order, broken master boot record, missing boot files, or a corrupt drive.
- Check the boot order in the BIOS. If that doesn't work, run the Startup Repair tool and scan the drive.
- Even if you can't boot into Windows, you can still access troubleshooting tools in Windows Recovery Environment.
Checking the Boot Order

Boot into the BIOS. "No bootable devices found" and similar errors often occur when the boot order is wrong. To fix it, boot into the BIOS. Start by shutting down your PC. Press the Power button to boot it up. Some PCs allow you to enter the BIOS by holding down Shift while your PC boots up. Most computers have a dedicated button you press on the keyboard to enter the BIOS during start-up. It's different from one computer manufacturer to another, but it's usually. F1, F2, F3, F10, F12. Del, or Esc. Alternatively, boot into the BIOS using the Windows Recovery Environment (WinRE). You can access WinRE using a Windows Recovery drive or by using the following steps: Shut down your computer. Press and hold the Power button to boot up your computer. Press and hold the Power button immediately (when you see the manufacturer's logo) to force it to shut down again. Repeat 3 times. Press the Power button to boot up your PC and allow it to boot into WinRE. Select Troubleshoot. Select Advanced Options. Select UEFI Firmware Settings. Select Restart.
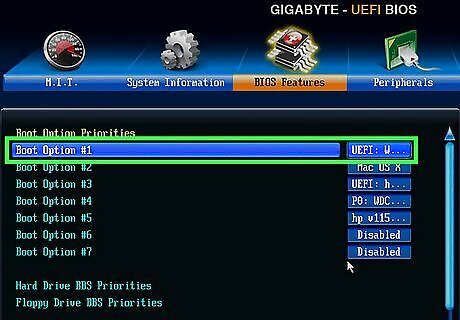
Find the boot menu in the BIOS. The BIOS is different for each manufacturer. Normally, you will see a menu called "Boot," "Boot Options," or similar at the top. Use the arrow keys on the keyboard to navigate to this menu and press Enter to select it.
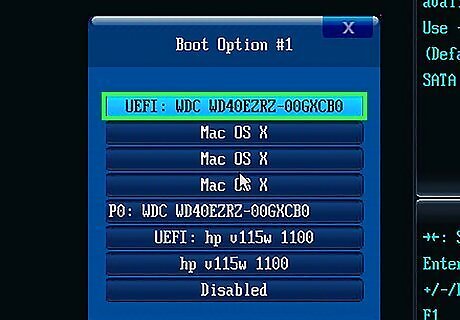
Put your computer's main drive first in the boot order. Change the boot order so your computer's hard drive (usually the "C:" drive) boots first. Make sure USB drives or CD/DVD drives are set to boot second. Alternatively, if removable or optical drives are first in the boot order, make sure you don't have any flash drives or CD/DVD/Blu-rays inserted. If you do, your computer is trying to boot from that instead of your hard drive. Remove the disc or flash drive, then reboot your PC. If you're intentionally trying to boot your PC from the connected flash drive or disc, you may need to make a new one.
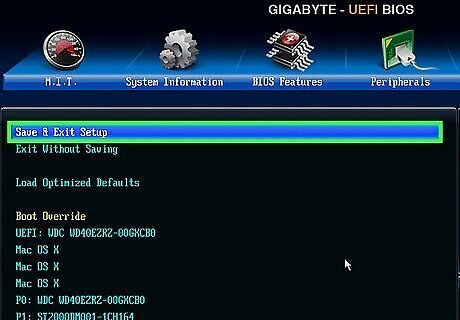
Save and exit the BIOS. Your computer should boot into Windows from your hard drive. If you still get "No bootable devices found," continue to the next method.
Running Startup Repair
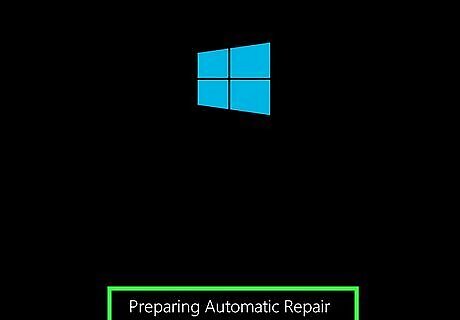
Boot into Windows Recovery Environment (WinRE). To do so, you can do so by creating a Windows Recovery drive and inserting it into a USB port on your computer and restarting it. Note that if you do this, you'll need to change the boot order so that removable/USB drives come first—the opposite of what you did earlier. Alternatively, if you don't have a recovery drive, use the following steps to access WinRE: Shut down your computer. Press and hold the Power button to boot up your computer. Press and hold the Power button immediately (when you see the manufacturer's logo) to force it to shut down again. Repeat 3 times. Press the Power button to boot up your PC and allow it to boot into WinRE.
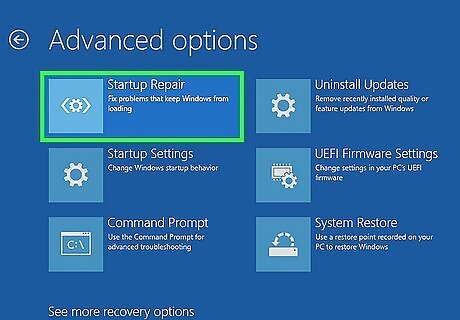
Go to the Startup Repair tool. This tool does a great job of fixing Windows boot errors, including "No bootable devices found." To get there: Select Troubleshoot. Click Advanced Options. Select Startup Repair.
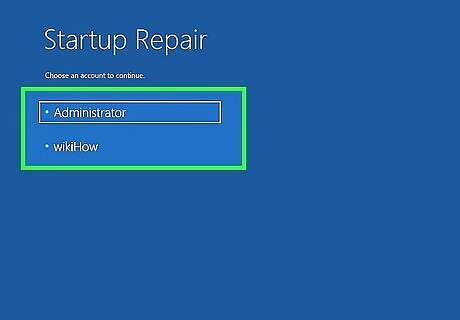
Select an administrative account and enter your password. Select a Windows user account with administrative privileges, type the password, and click Continue. Windows will start running Startup Repair to scan your startup files and fix errors preventing it from finding bootable devices. Once the repair is complete, your PC should boot normally. If you receive a message that says "Start Repair couldn't repair your PC," try another method.
Checking Your Hard Drive
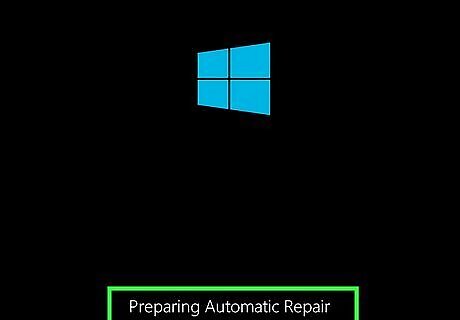
Boot into Windows Recovery Environment (WinRE). If you have a Windows Recovery Drive, insert it, and reboot your PC to boot from it. If not, follow these steps to enter WinRE: Shut down your PC. Press and hold the Power button to boot up. Press and hold the Power button immediately when you see the manufacturer's logo to force it to shut down again. Repeat 3 times. Press the Power button to boot up your PC and let it boot into WinRE.
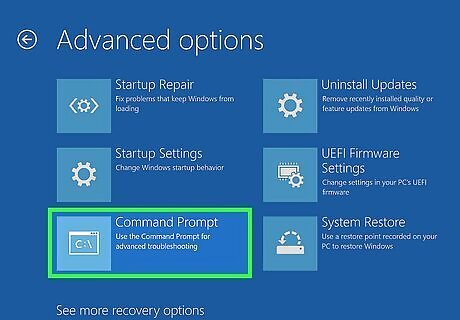
Open the Command Prompt in WinRE. Here's how to get there: Select Troubleshoot. Select Advanced Options. Select Command Prompt.
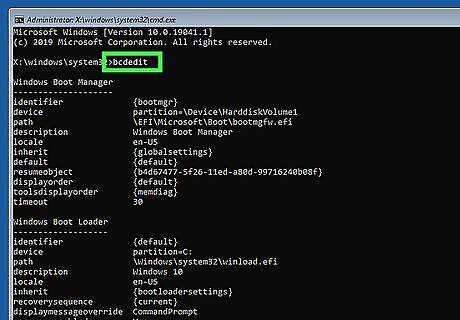
Type BCDEdit and press ↵ Enter. This command will display which hard drive letter has your system volume next to "osdevice." It will usually be "C:".
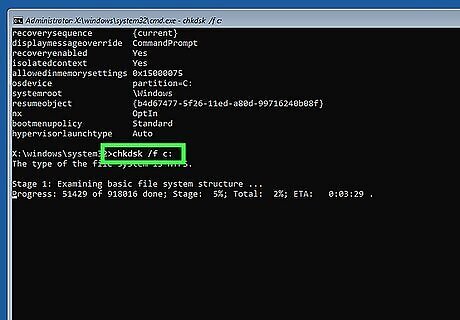
Type CHKDSK /f C: and press ↵ Enter. This will run a Check Disk scan for the hard drive with the system volume. If the system volume is on a hard drive other than "C:", enter the correct drive letter. If you receive any error messages after running Check Disk, Google the error message to see if you can find the cause and solution.
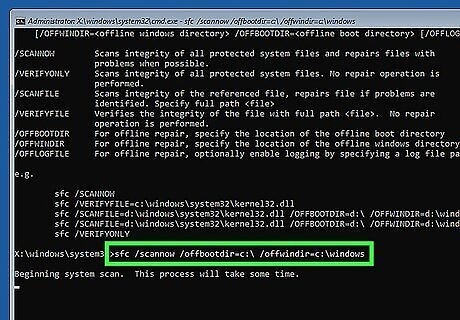
Type SFC /scannow /offbootdir=C:\ /offwindir=C:\windows and press ↵ Enter. This will run a System File Check on your system volume. It will also attempt to fix any errors that it may encounter. Again, if your system volume is on a different drive letter other than "C:", be sure to enter the correct drive letter. If you receive any error messages after running System File Check, Google the error message to see if you can find the cause and solution.
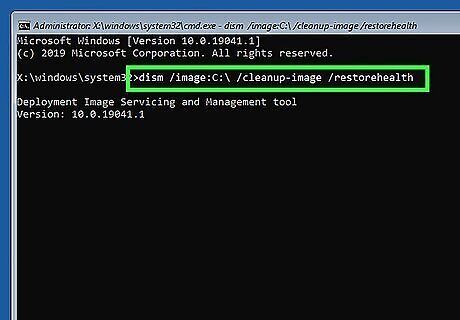
Type DISM /image:C:\ /cleanup-image /restorehealth and press ↵ Enter. This will use the DISM tool to run a disk image cleanup and do a health restoration of your system volume. Again, if your system volume is on a different drive letter other than "C:", be sure to enter the correct drive letter. If an issue is found and fixed, run the SFC command again.
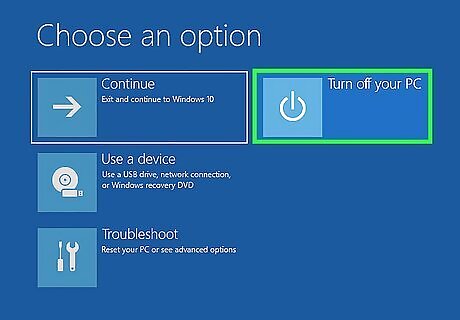
Press X and reboot your computer. Your PC should be able to boot into Windows like normal. If your computer is still unable to boot, you will need to try another method. Some PCs have a pre-boot diagnostic tool you can use to check for hardware failures. Usually, there will be a button you press to enter the diagnostic tool during the boot-up process. On Dell computers, you will press F12 repeatedly after seeing the Dell logo. On HP computers, you will press Esc repeatedly. Then, select the option to run a diagnostic test. Check the user's manual or manufacturer's web page for your computer model to see if it has a pre-boot diagnostic test.
Fixing the Master Boot Record (MBR)
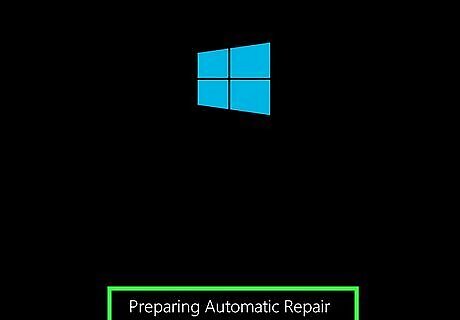
Boot into Windows Recovery Environment (WinRE). If you have a Windows Recovery Drive, insert it, and reboot your PC to boot from it. If not, follow these steps to enter WinRE: Shut down your PC. Press and hold the Power button to boot up. Press and hold the Power button immediately when you see the manufacturer's logo to force it to shut down again. Repeat 3 times. Press the Power button to boot up your PC and let it boot into WinRE.
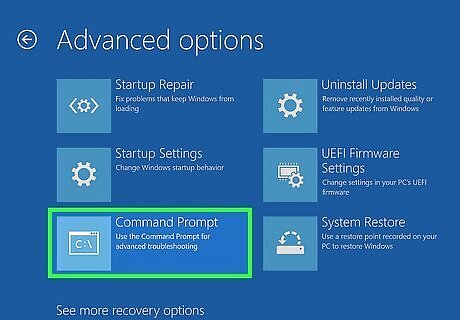
Open the Command Prompt in WinRE. Here's how to get there: Select Troubleshoot. Select Advanced Options. Select Command Prompt.
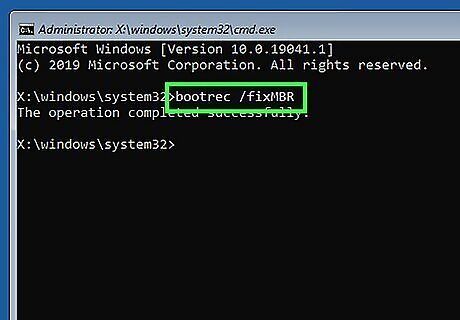
Type Bootrec /fixMbr and press ↵ Enter. This command will attempt to fix the MBR and replace it with clean code.
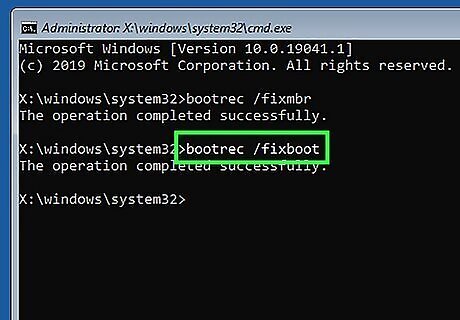
Type Bootrec /fixBoot and press ↵ Enter. This will attempt to fix the boot sector if it is damaged or replaced with a non-standard boot sector.
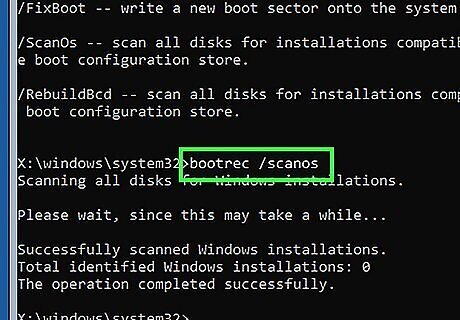
Type Bootrec /ScanOS. This option will scan all your drives and attempt to find any operating systems not found in your boot manager. It will display any installed operating system not found in the boot configuration data store.
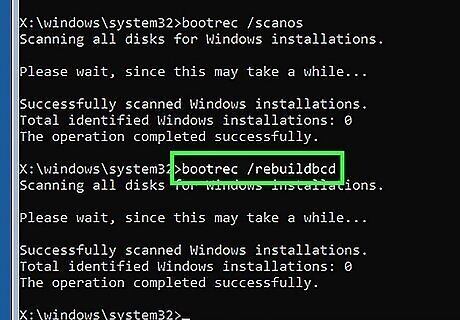
Type Bootrec /RebuildBcd and press ↵ Enter. This will attempt to rebuild the boot configuration data store.
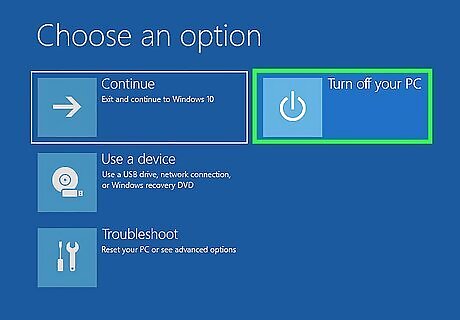
Press X to close the Command Prompt and reboot your computer. Your computer should be able to boot into Windows without the "No bootable devices found" error. If not, continue to the next method.
Reinstalling Windows
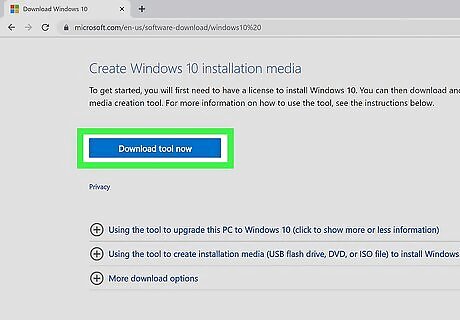
Create a Windows Installation media drive. If nothing else works, reinstallomh Windows. You'll need to create an installation media USB drive to do so. You can download the tool to create an installation drive for Windows 11 here and for Windows 10 here. Since you can't boot into Windows, you'll probably need to do this from another Windows computer. Note: You may lose some or all of your files when reinstalling Windows. Always be sure to backup your data whenever possible.
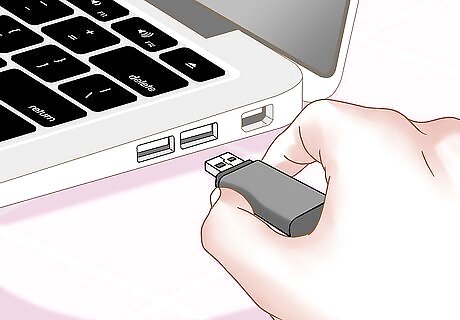
Insert your USB drive. You'll need a blank USB drive with at least 9 GB of storage space. Any files on the USB drive will be erased, so back up any files you want to keep.
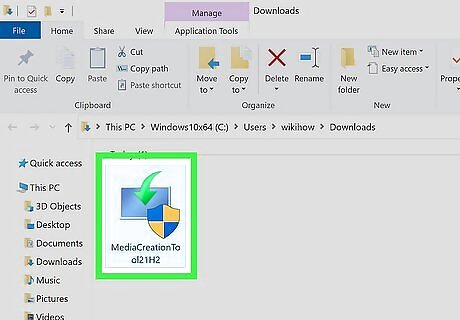
Open the Windows Installation Media Creation tool. By default, you can find your downloaded files in your Downloads folder. Open the Windows Installation Media Creation tool you just downloaded.
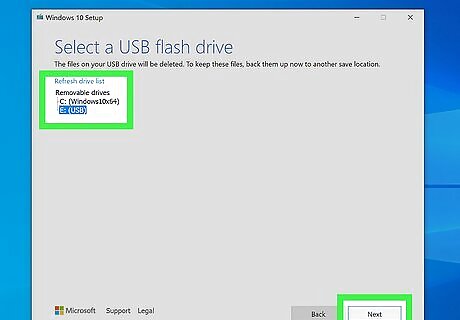
Follow the prompts to create a Windows Installation drive. You'll need to accept the terms and conditions, select a Windows edition, and select the correct USB drive. Be sure to select the same edition of Windows that you previously had installed.
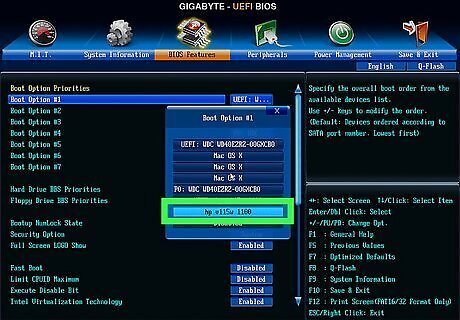
Change the boot order to boot from a USB drive. After you create a Windows installation drive, you will need to boot into your BIOS and change your boot order once again. This time, you will set your boot order to boot from a USB drive instead of your hard drive. Once you make the changes, save and exit the BIOS.
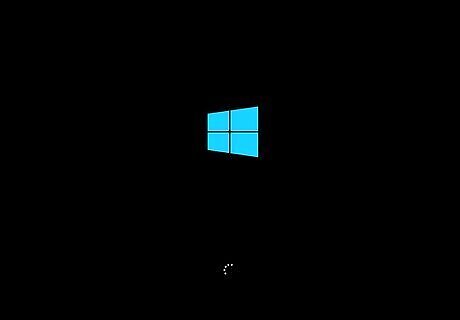
Boot from the Installation drive. Shut down your PC, then insert the flash drive into a free USB port. Power on the computer, and it will boot from the installation drive.
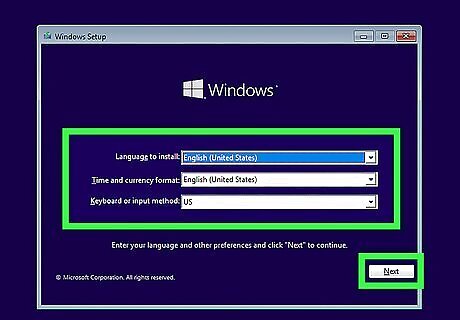
Follow the prompts to reinstall Windows. During the process, you will be asked to enter your language and keyboard layout, accept the terms and conditions, and select a Windows edition. Follow the prompts to reinstall Windows. During the process, you may be asked to enter a Windows activation key. You can skip this step if you do not have one. Be sure to select the same Windows edition you previously owned. During installation, you may be asked if you want to keep all your files and reinstall Windows, or erase everything and reinstall Windows. You can try to keep your files. If that doesn't work, you may need to try again and erase all your files. If you cannot reinstall Windows on the drive, it's likely you have a hardware issue—probably a dead drive.



Comments
0 comment