
views
- Cut or scrape off old caulk and loose paint from around your window. Wipe the window with a damp cloth to remove any dirt and debris on the surface.
- Run a bead of caulk along the window seam from the corner to the center. Then, run the caulk from the opposite corner until it meets in the middle.
- Smooth out the caulk with your a caulk tool or a dampened finger. Let the caulk cure for 24 hours.
Choosing the Right Caulk

Use siliconized latex for waterproofing window exteriors. Siliconized latex caulk contains silane, which makes it more weather-resistant and durable than other latex varieties. have better adhesive properties than acrylics. Siliconized latex products can easily be painted over so you can easily blend it in with your home’s exterior paint.
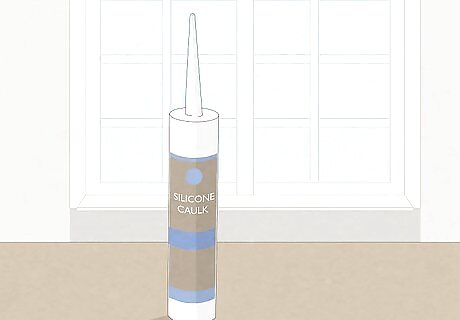
Choose silicone caulk for indoor and outdoor applications. Silicone is one of the most common and most durable types of caulk available. Silicone caulk is water-resistant and is durable through extreme temperatures, so it’s perfect for sealing your windows inside and out. Silicone caulk is a little tacky and may be more difficult to smooth out than other varieties. IT also does not take paint, so be sure to get a tinted variety if you want a specific color.

Work with polyurethane caulk for the most durability. Polyurethane isn’t affected by temperature changes and it’s water-resistant, so it holds up for the longest after you apply it. Polyurethane caulk works well indoors and outdoors, but it does break down with UV exposure from the sun, so be sure to paint over any exterior applications. Polyurethane caulk tends to be more expensive than other varieties, so it may not be the most budget-friendly option if you’re caulking a lot of windows in your home.
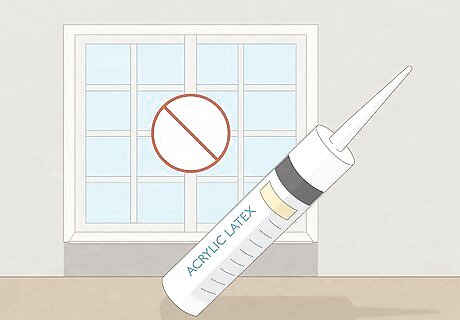
Avoid acrylic latex caulk for window frames. Acrylic latex doesn’t flex or expand when the temperature changes, so it may not stay bonded to your window frame. It also isn’t as water-resistant, so it’s more prone to moisture damage. Because it can be painted over, acrylic latex is best used for sealing baseboards or securing loose tiles rather than around window frames.
Applying Caulk to Your Windows

Wait for a clear day above 45 °F (7 °C) with low humidity. Wait until a dry day with no rain and low humidity to apply the caulk so it adheres and sets properly on the surface. Make sure the window surface is completely dry before caulking your windows. If you apply caulk during humid or rainy weather, the moisture could cause swelling and make the caulk crack. It may also trap moisture and promote rot.
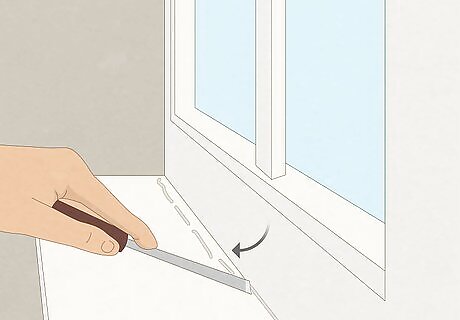
Remove old caulk from around the window frames with a utility knife. Look for old lines of caulk around the outside of the frame and wherever you see a seam on the window. Slice along the edges of the old caulk lines around the window to loosen the pieces. Peel off the largest pieces of caulk by hand, and then use a putty knife to remove any remaining bits of the material. If you’re having trouble removing the caulk, apply a caulk softener to the seam and let it sit for 10–15 minutes before scraping it off. Removing all of the old caulk ensures that you get the best seal around your windows.
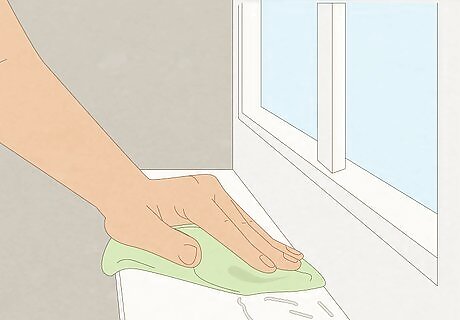
Wipe the window and frame with a damp cloth. Wet a cloth and wring out any excess water so the window frame doesn’t absorb any moisture. Gently wipe all of the seams where you plan on applying caulk with your cloth to lift up any dirt, debris, and old paint. Let the surface dry completely before you start to get the best adhesion. If your windows have any rot or damage around the frames, then repair the wood or surface before applying caulk.
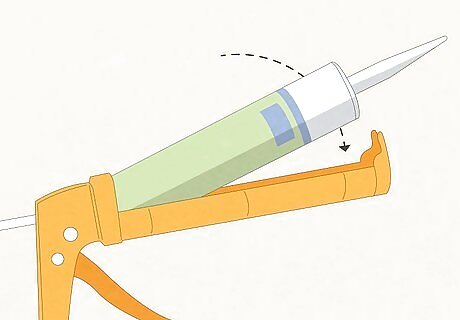
Load a caulk gun. To put the tube of caulk into a caulk gun, pull the notched rod on the back straight out and hold it in place. Guide the tip of the caulk tube into the hole on the opposite end of the gun. Then, push the metal rod forward as far as you’re able to. Squeeze the handle lightly just enough to move the plunger securely against the end of the tube inside the cylinder. Use a caulk gun with a thumb release trigger on the handle you have to squeeze before you’re able to move the rod.
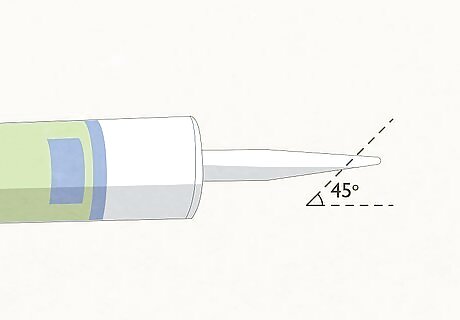
Cut the tip of the caulk tube at a 45-degree angle. Measure down about ⁄4 inch (0.64 cm) from the tip and slice the plastic off with a utility knife. Then, stick a long, slender nail into the tip’s opening to break the seal so the caulk can dispense properly. If you want a finer line of caulk, cut closer to the tip. If you need a wider line of caulk to fill a larger gap, then make your cut further down.
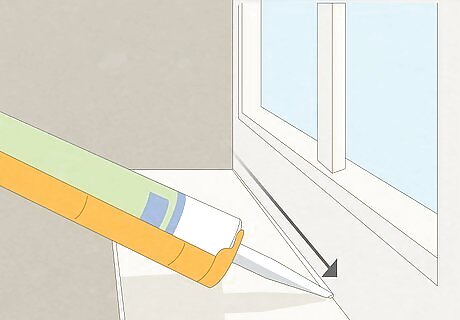
Apply smooth beads of caulk to half the seam around your window. Press the tip firmly against one corner of the window frame and lightly squeeze the trigger. Hold the caulk gun with both hands to keep it steady. Pull the caulk gun in a straight line along the seam between the frame and the wall and stop halfway along the seam. Release the trigger and slowly lift the tip of the caulk gun away. Stopping the caulk line halfway makes it easier to create a smooth line without having to reposition the caulk gun. Drag the caulk gun against the smooth glass on the window rather than across the textured siding to get a clean, uniform line. Only enough caulk to cover the gap. The more you use, the harder it is to make clean, smooth lines. Avoid putting caulk over any weep holes along the bottom of the window or where there are moveable parts since you could trap moisture.
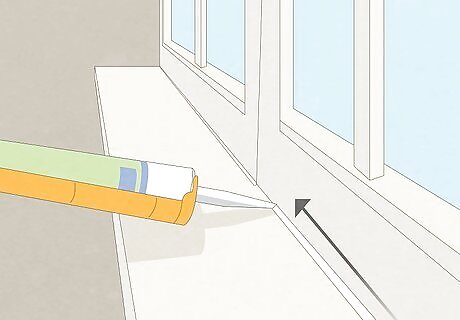
Complete the caulk line by starting in the opposite corner. Place the tip of the caulk gun on the corner opposite of the one you started on. Slowly squeeze the trigger and make another bead of caulk until it meets the original line in the middle. Continue around all the sides of your window to completely seal the gaps. Avoid running a continuous bead of caulk from one side to the other because it may not have a uniform consistency or thickness. If you’re caulking the interior side of your window, then seal around the outside of the frame and any seams along the bottom. When you’re applying caulk to the exterior, only apply it to the sides and bottom of the window.
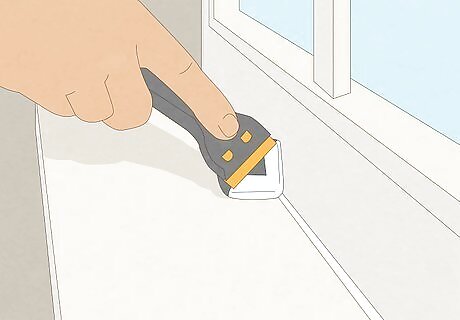
Use a caulk tool to smooth over the sealant and remove excess caulk. Run the caulk tool down the bead of caulk about 6 inches (15 cm) and wipe off the excess. Then, continue working down the line in 6 in (15 cm) increments so excess caulk doesn’t build up.. Keep smoothing out the caulk until it has an even finish. This process is also called "tooling" the caulk. If you don’t have a caulk tool, wet a clean cloth and wrap it around your finger. Run your finger along the seam to smooth the caulk.
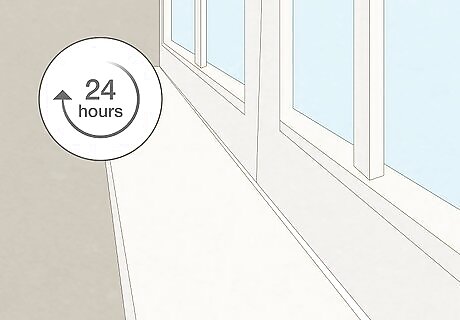
Allow the caulk to dry for at least 24 hours. Even though a "skin" will develop within a few hours, caulk still needs more time to completely harden and cure. Leave the caulk alone and avoid touching it until it completely dries. If there’s humid weather, the caulk may take longer to cure.


Comments
0 comment