
The iTunes Method
Download and install iTunes by clicking on the "Download iTunes". You can choose whether to download iTunes for Mac or Windows.
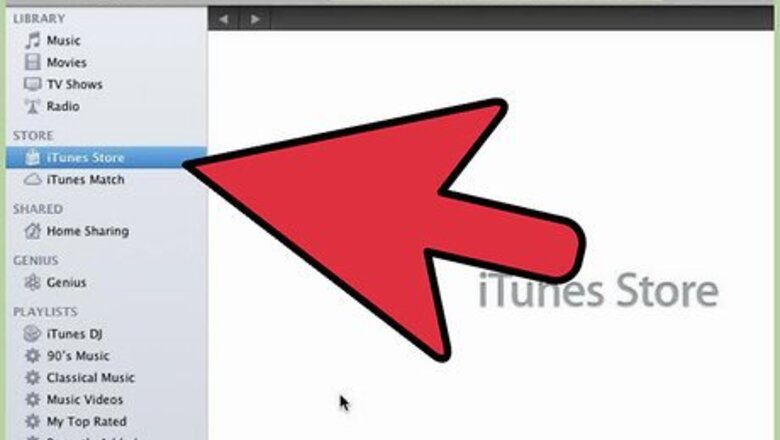
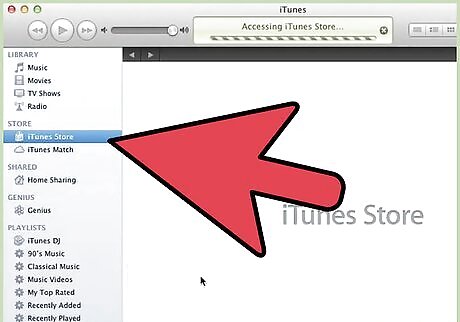
Import the midi file into iTunes by dragging the file into the main iTunes window.
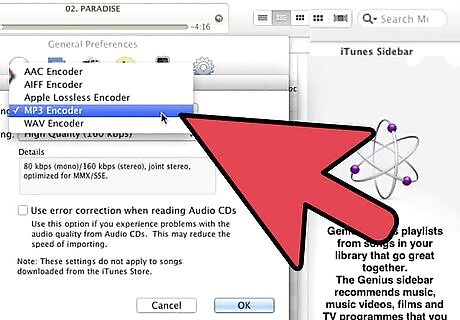
Set the conversion settings. Click on "iTunes" in the menu bar ("Edit" menu if using Windows) and then click on "Preferences". Select the "General" tab. Go down and click on "Import Settings". Then on "Import Using", choose "MP3 Encoder". Then save your settings by clicking "OK".
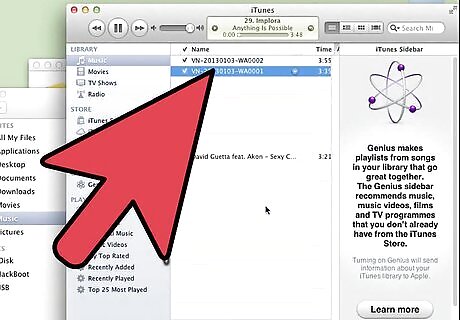
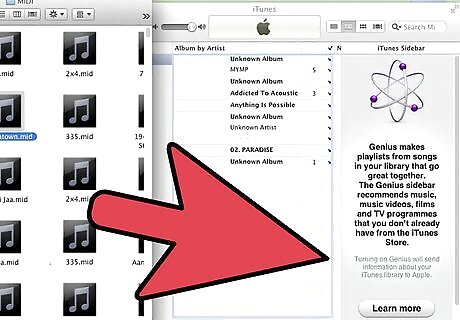
Select the midi file you want to convert in the iTunes window.
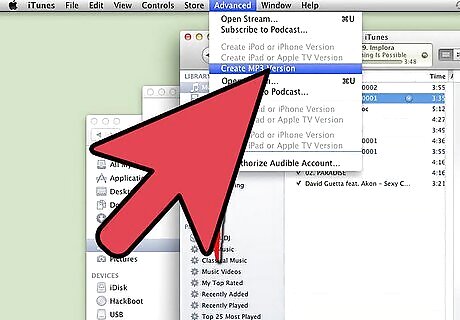
Select "Advanced" in the menu bar and select "Convert Selection to MP3". This maybe say AAC or WAV depending on what you set in step 5.
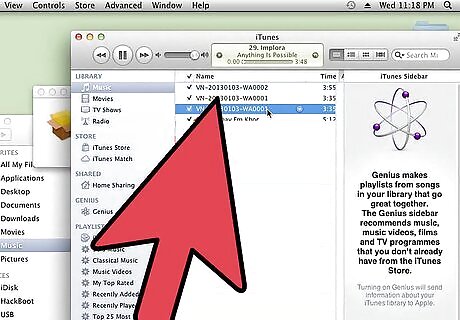
You're done! Now you can copy the file to an MP3 player or to a CD.
The QuickTime Pro/Audacity Method
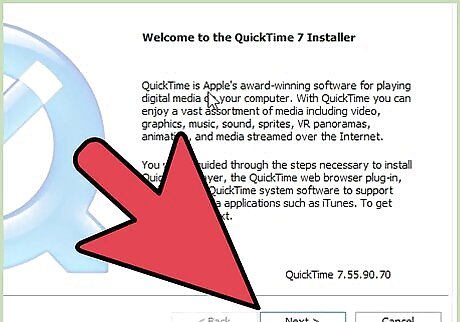
Purchase QuickTime Pro. (You can find keys, but that's out of scope)
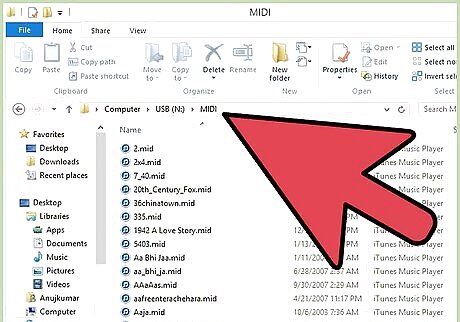
Get your MIDI file.
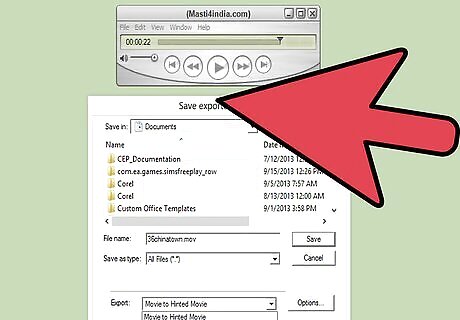
Open QuickTime on the file and export to AIFF. (This will create a large file that you can remove after exporting to MP3/WAV from Audacity)
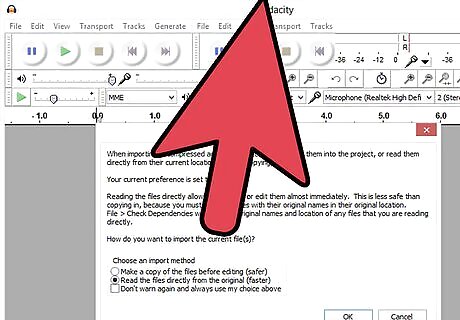
Import this AIFF file into Audacity.
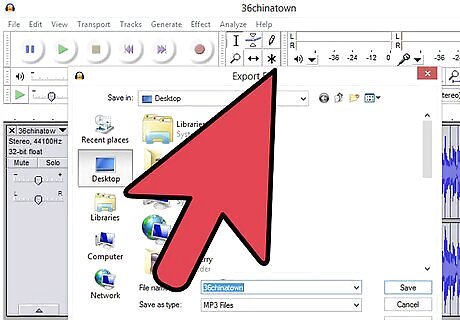
Export the file.
You're finished!
The File Conversion Method
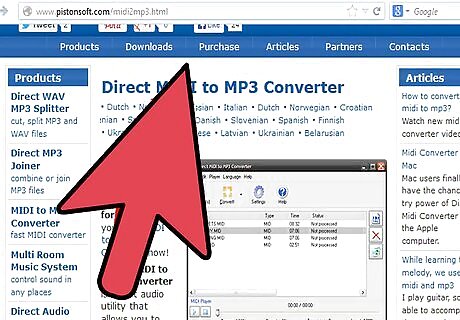
Download (or purchase) a file conversion program. Look for a program that specifically mentions "midi to wav" or "midi to mp3".
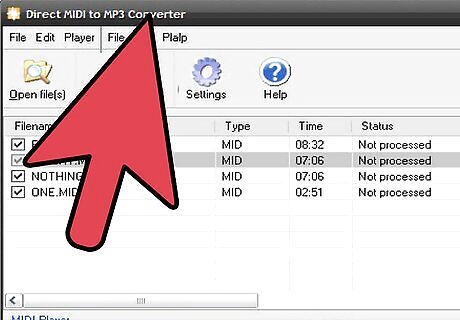
Follow the instructions for that particular program. (Usually similar to the instructions as shown above for iTunes.)


Comments
0 comment