views
Getting the Right RAM
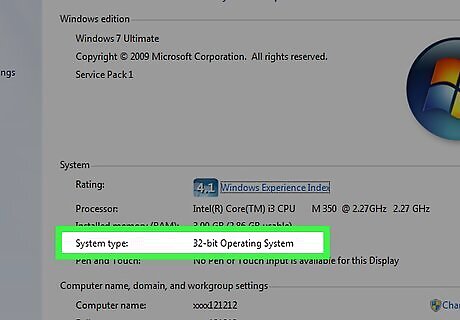
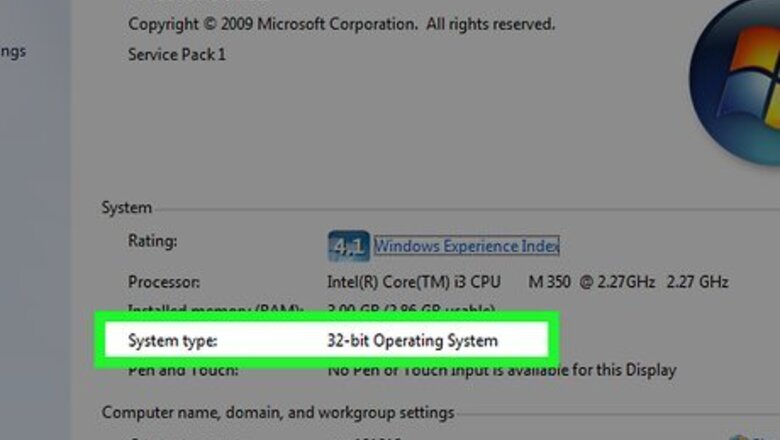
Determine if your version of Windows is 32-bit or 64-bit. Before you scan your hardware, it's good to make sure your operating system can handle a RAM upgrade. Press the Windows key and the Pause key at the same time to bring up your computer's basic information, and then check the "System type" value: If you see "32-bit Operating System," your version of Windows can only support up to 4 GB of RAM. This means that even if your hardware is capable of supporting more RAM than that, Windows will only recognize 4 GB. If you see "64-bit Operating System," your version of Windows can handle 128 GB (if using Windows 10 Home), 2 TB (Windows 10 Pro or Windows 10 Education), or 6 GB (Windows 10 Enterprise or Windows 10 Enterprise for Workstations). However, if your hardware only supports 32 GB and you're running Windows 10 Pro, you cannot install more than 32 GB of RAM.

Go to https://www.crucial.com in a web browser. Crucial, a major RAM retailer, offers a free and easy tool you can use to determine your PC's maximum RAM capacity, how many SIMM or DIMM slots are available, what type of RAM will work best. Start by opening up Crucial's website on the computer you want to upgrade.
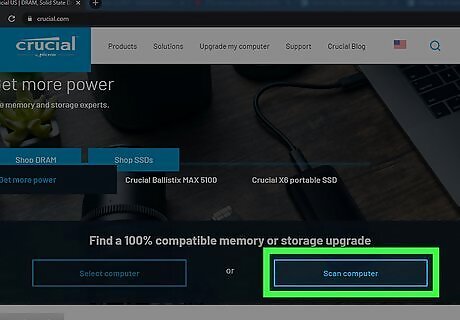
Click the Scan computer button. It's under the "Find 100% compatible memory or storage upgrade." If you're using a different computer than the one you want to upgrade, select Select computer instead so you can manually select the manufacturer and model.

Agree to the terms and click Scan my computer. If you want to read the terms first, click the terms & conditions link to open them. Once you click Scan my computer, the scanning tool will download to your default download location. You may have to click Save to start the download.
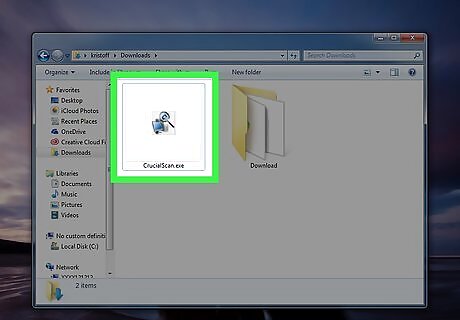
Double-click the downloaded file. It is the file called CrucialScan.exe in your default downloads folder.

Click Yes to allow the app to run. This causes the application to scan your PC and report its findings in a new web browser tab.
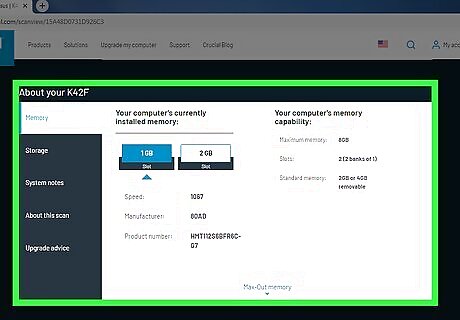
Scroll down to the "About your (model number) section." This is where you'll find the following information: Your computer's installed memory: This displays the RAM that's in your computer now. The "slots" tell you the size of the RAM stick in each of the slots. For example, if your PC has 6 GB of RAM, you might have a 4 GB stick in the first slot, and a 2 GB stick in the second. The speed of the RAM is also listed here (e.g., 1600). You can click the amount in each slot to see the exact model and speed of the RAM. It'll also show you the product number of the exact RAM you have now. Your computer's memory capability: This is where you'll find the maximum amount of RAM your computer can handle, as well as the total amount of RAM slots in the system.
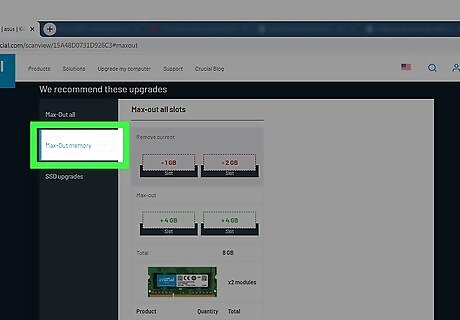
Click Max-Out Memory below the RAM info. This shows you exactly what you can replace the current amount of RAM with, and what the maximum amount of RAM would look like. For example, if your PC can take up to 16 GB of RAM and currently has 8 GB (4 GB in each slot), you can remove both 4 GB sticks and replace them with two 8 GB sticks. You don't have to add the maximum amount of RAM. In the example of your PC taking up to 16 GB and only having 8 GB right now, you simply replace one of your 4 GB sticks with an 8 GB stick to make 12 GB, leaving the other stick alone.
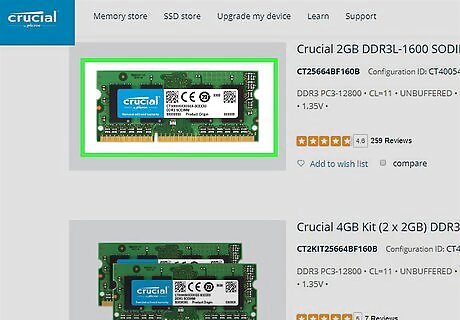
Purchase compatible RAM. Now that you know your PC's RAM limitations, you can purchase compatible RAM from any tech department store (e.g., Best Buy) or online store (e.g., Crucial, which is the retailer that provided your RAM scanning tool). Crucial has been where large companies and individual users alike have purchased RAM for decades, so it's a totally safe place to get what you need. To see Crucial's recommendations and pricing, just scroll down. If you want to run your RAM in dual channel or triple channel mode, you will want to buy an identical pair of two of the same size and speed DDR2 or DDR3 DIMMS. If the DIMMs are different speeds from one another, they'll only run as fast as the DIMM with the lower speed. In general, as long as your motherboard takes DIMMs, which is nearly all PCs from the 2000s and forward, you don't have to install RAM in identically-sized pairs. So, if your PC came with a 4 GB DIMM and a 2 GB DIMM (a common configuration on some Acer and Lenovo laptops) and you want to have 12 GB of RAM, you could replace the 2 GB DIMM with an 8 GB DIMM. However, you do need to make sure your DIMMs have the same number of pins. It's generally cheaper to buy RAM online than in-store, but going to a store gives you the opportunity to speak with someone and make sure you're getting the right thing. For standard computer use on Windows 10, 6–16 GB of RAM should be enough. If you use more advanced software for 3D modeling, consider getting up to 32 GB instead.
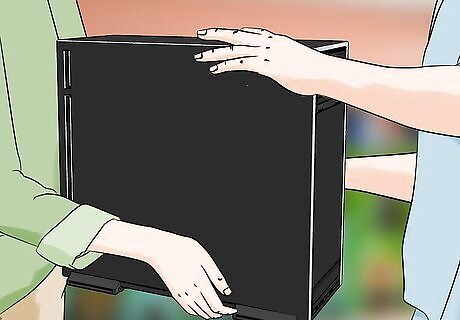
Consider having a tech department install the RAM for you. Once you've purchased the RAM, you might want to have a technician install it for you since they likely have more experience. If not, proceed to installing your laptop or desktop RAM.
Installing Laptop RAM
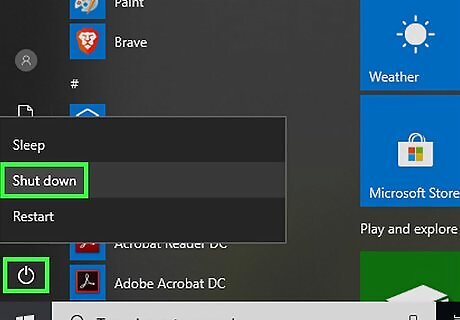
Turn off your computer. Open Start Windows Start, click Power Windows Power, and click Shut down to do so. Wait for your computer to stop making noise before proceeding.
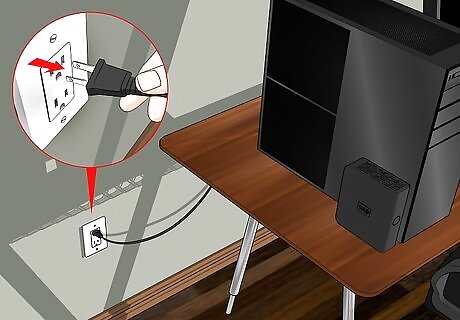
Unplug any cables or other attachments. This includes the power cable, any USB attachments, Ethernet cables, and so on.
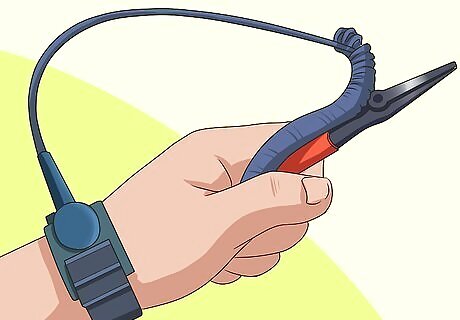
Ground yourself. This will prevent you from accidentally harming your computer's internal components with static electricity.
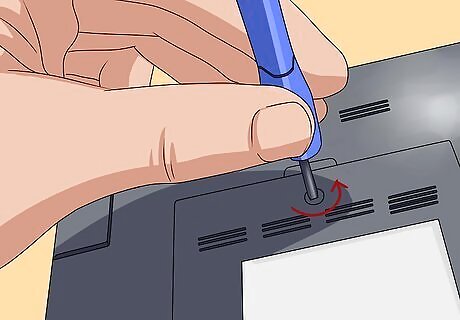
Remove the laptop's bottom panel. Some laptops have a panel specifically for RAM, while others require you to remove the entire bottom from the laptop. Refer to your laptop's manual or online documentation for specific instructions on how to handle this.
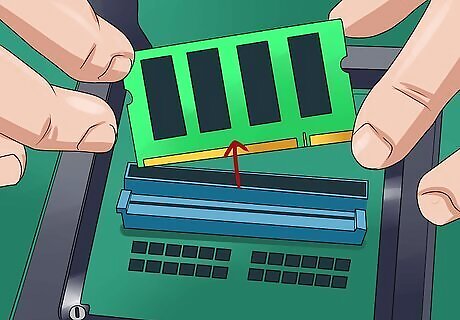
Remove the original RAM cards. Since most laptops only have two RAM slots, you'll most likely have to remove the old RAM. To do so, look for a lever or a button to press, or gently tug the RAM cards away from their slots if no button is present.
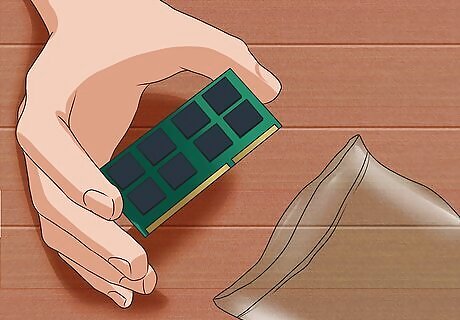
Remove the new RAM cards from their protective bag. Make sure that you only touch the RAM cards along the side edges so that you don't get oil, dirt, or skin particles on the contacts or circuitry.
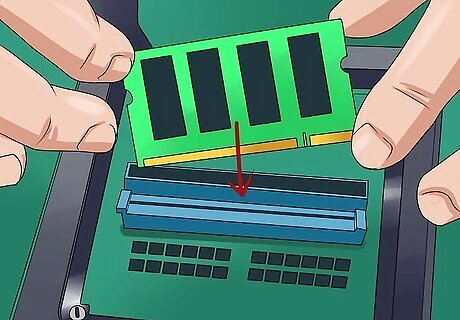
Install your new RAM. Line the new card up with the notch in the RAM socket, then firmly press the card in and down (if necessary) so that it lies flat. Repeat this process for the other RAM card if applicable. Unlike desktop RAM, laptop RAM doesn't always need to be installed as a matching pair, though it does need to have consistent speed.
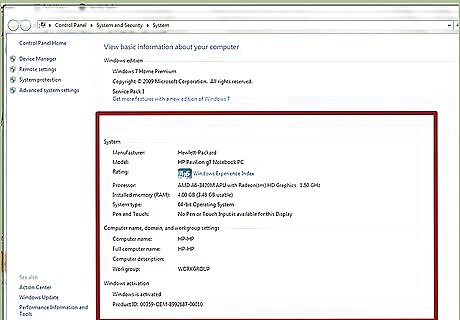
Replace the bottom panel, then turn on your laptop. You can check that your operating system is recognizing your RAM by pressing ⊞ Win+Pauseto open the System Properties window; you should see your RAM listed next to the "Physical Memory" heading.
Installing Desktop RAM
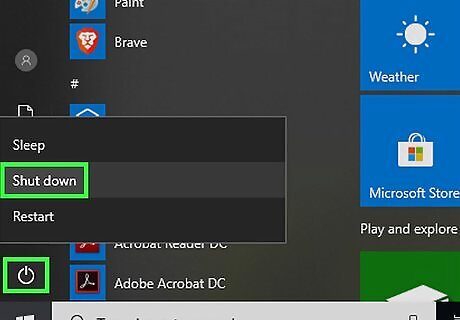
Turn off your computer. Open Start Windows Start, click Power Windows Power, and click Shut down to do so. If your desktop has a master switch on it as well, make sure the switch is set to "Off".
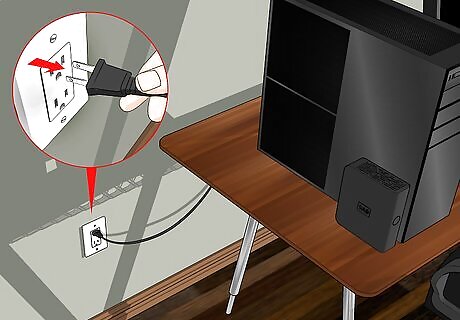
Unplug any cables or other attachments. This includes the power cable, any USB attachments, Ethernet cables, and so on.
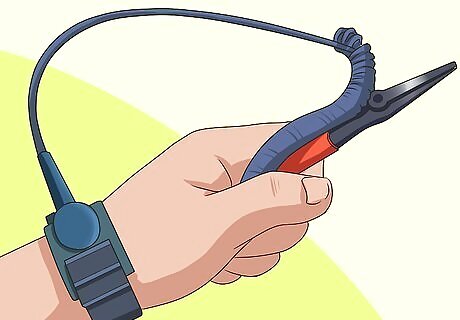
Ground yourself. This will prevent you from accidentally harming your computer's internal components with static electricity.
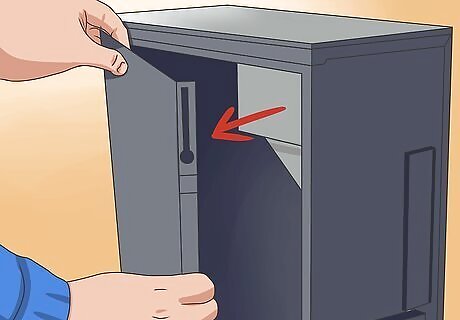
Open your computer case. This will allow you to visually inspect your RAM slots and currently installed modules, which can make choosing your new RAM easier. Click here for detailed information about opening your computer.
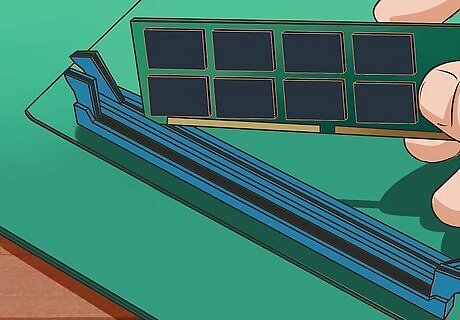
Remove the existing RAM cards if necessary. If you're removing the old modules to make room for bigger ones or taking them out to upgrade to a faster speed, you can quickly remove them by releasing the latches on each side of the RAM, or by gently tugging on the RAM if there are no latches. Once the latches are released, you can pull the RAM card(s) straight out.
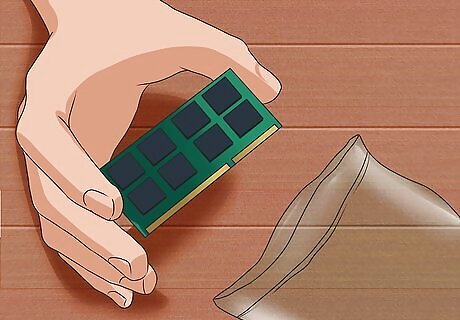
Remove the new RAM cards from their protective bag. Make sure that you only touch the RAM cards along the side edges so that you don't get oil, dirt, or skin particles on the contacts or circuitry.
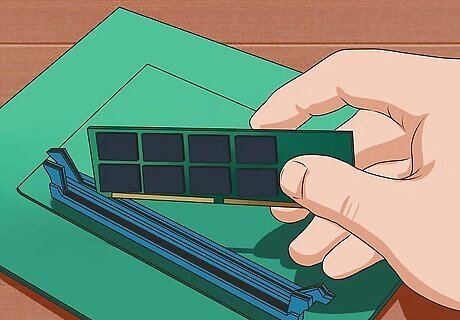
Line up the notch on the new card with the break in the RAM slot. RAM can only be inserted in one direction, so make sure that the slot and module line up.
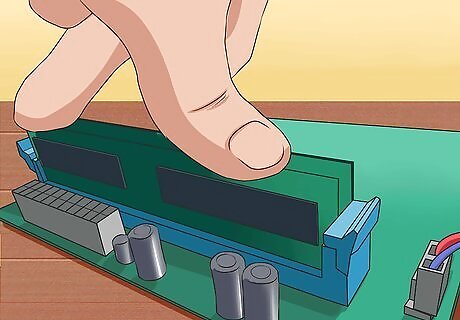
Push the RAM card firmly into the slot. Apply even pressure to the card, but do not force it in. In most cases, there will be latches on either side that will snap into place when the RAM card is correctly installed.
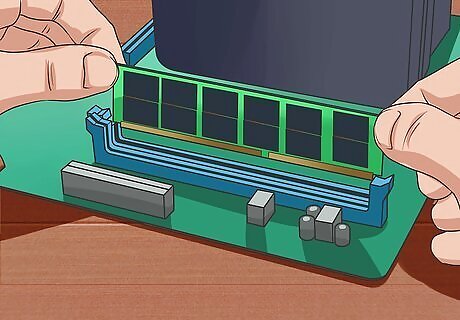
Install the other matching RAM card. Make sure that the matching card goes into a slot matching the first RAM card that you installed. Most matching pairs of slots are designated by different colors or labeled with printing on the motherboard. Your motherboard's manual should also have a diagram.
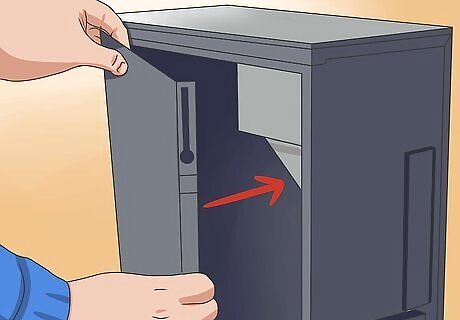
Close up your computer. At this point, you can plug back in any cables, USB items, and peripherals that you had plugged in before.
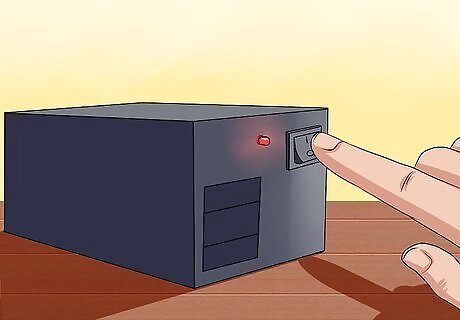
Power on your computer. You can check that your operating system is recognizing your RAM by pressing ⊞ Win+Pauseto open the System Properties window; you should see your RAM listed next to the "Physical Memory" heading.


Comments
0 comment